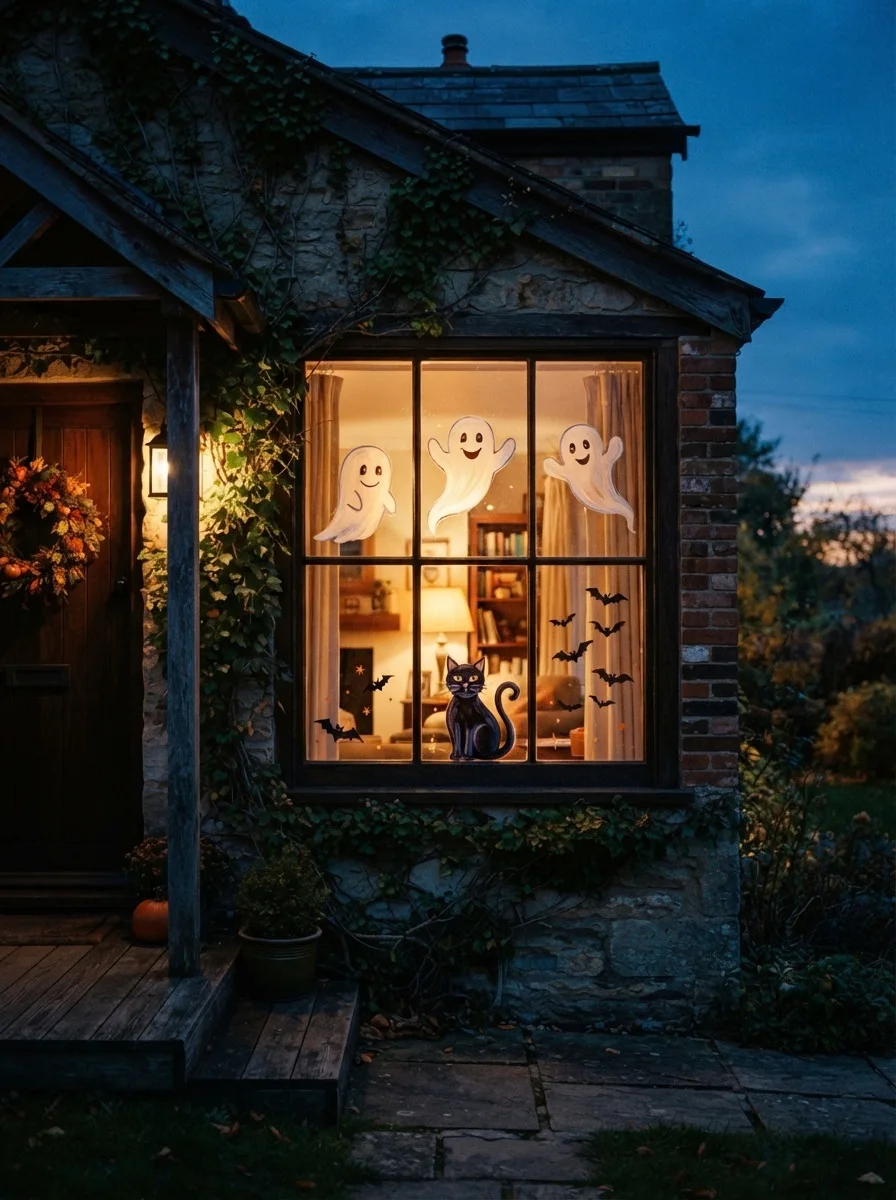
A plain window can become the best part of your Halloween display with just a few colors and a steady hand. These Halloween window painting ideas work for beginners, kids, and anyone who wants to wow the neighbors without spending much. You do not need to be an artist. A simple ghost, a row of bats, or a big spiderweb can look amazing from the street.
In this guide, you will find 24 designs, from sweet and silly to creepy and dramatic. You will also learn which paints to use, how to plan your layout, how to light your window at night, and how to clean it all off when the season ends. Some ideas use no paint at all, so there is something here for every home.
What Are the Best Halloween Window Painting Ideas?
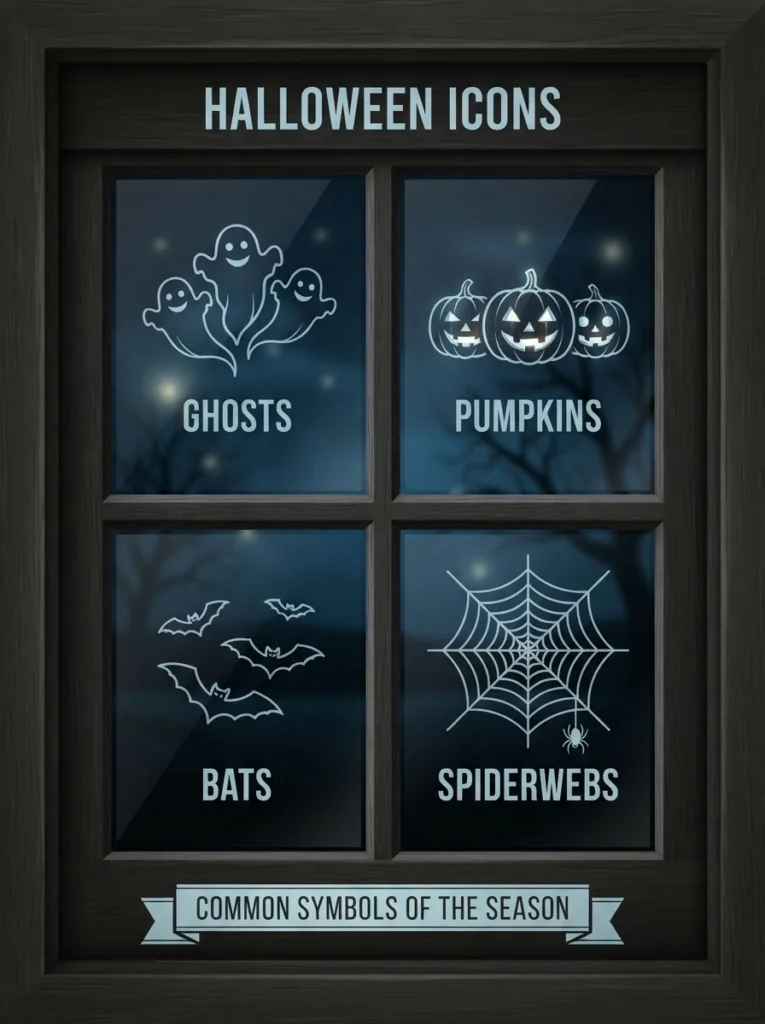
The best Halloween window painting ideas use bold, simple shapes that read from far away. Ghosts, pumpkins, bats, black cats, and spiderwebs are the top choices. Paint them with washable window paint or markers, keep to two or three colors, and leave some clear glass so light still comes in.
Here is a quick way to pick your design:
- For beginners: a row of ghosts, mini pumpkins, or a bat swarm.
- For kids: friendly monsters, smiling pumpkins, and candy corn.
- For a spooky look: spiderwebs, dripping red messages, and a haunted house.
- For no mess: paper silhouettes, window clings, and tissue paper sun catchers.
Supplies and Prep Before You Paint Halloween Windows
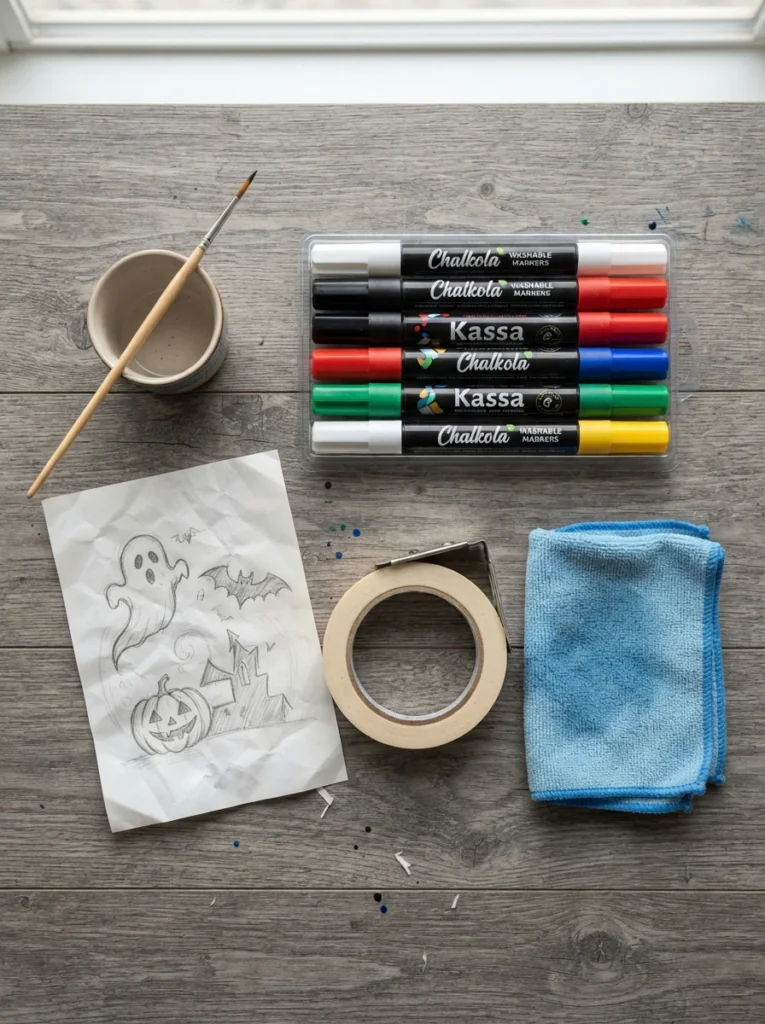
A little prep makes Halloween window painting go much faster and keeps cleanup easy. Here is what to gather and do first.
Choose the Right Paint
Look for washable paint or markers made for glass or windows. Always read the label for how to apply and remove the paint. Brands differ, so what works for one may not work for another. Some people also use washable kids paint mixed with a little dish soap for temporary designs, but follow the maker’s directions and test first.
Another fun option is peelable glass paint. You paint it on, let it dry, and peel the whole design off after Halloween. It works well for bold black shapes like cats, witch hats, and bats.
Gather Simple Tools
- Washable window markers or paint
- Small and medium brushes, or sponges for filling large shapes
- A white paint pen for webs and fine lines
- Painter’s tape and paper for your sketch
- A damp cloth and window cleaner
- An old towel to protect the sill and floor
Make a Tracing Guide
Sketch your design on paper first. Tape it to the opposite side of the glass so you can trace the lines through the window. This trick keeps shapes even and takes away the fear of messing up. If you plan to use words, remember that letters painted on the inside can look backward from the street. Either paint words on the outside, or trace a reversed version.
Clean and Test
Wipe the glass clean and let it dry. Then test your paint on a small, hidden corner. Let it dry, then wipe it off the way the label says. If your window has a tint, film, or special coating, check the care instructions first, because not every paint is safe on every surface. Keep paint off frames, seals, and screens, unless you plan to paint the frame itself.
Cute and Easy Halloween Window Painting Ideas
These Halloween window art designs are friendly, fast, and perfect for first timers. Most need only two or three colors.
1. A Trio of Floating Ghosts
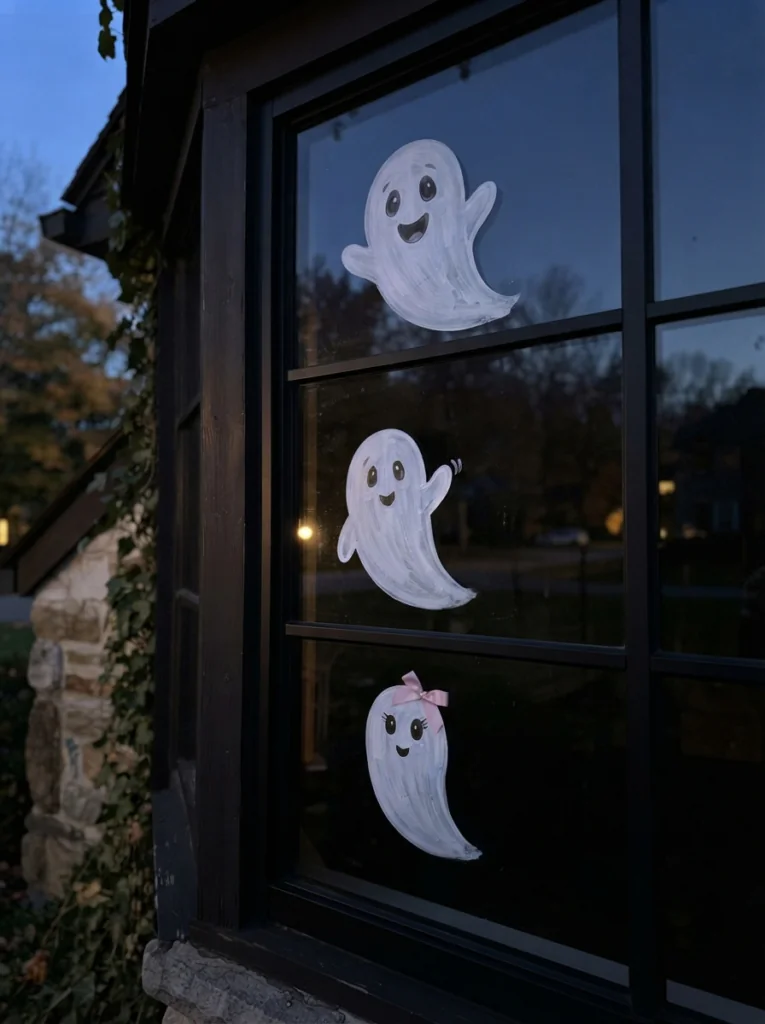
Paint three ghosts at different heights, as if they are floating up the glass. Each ghost is just a rounded top with a wavy bottom and two dark eyes. Add a little bow or a tiny hat to one for personality. Keep lots of open space around them so they seem to drift.
2. A Smiling Pumpkin Patch
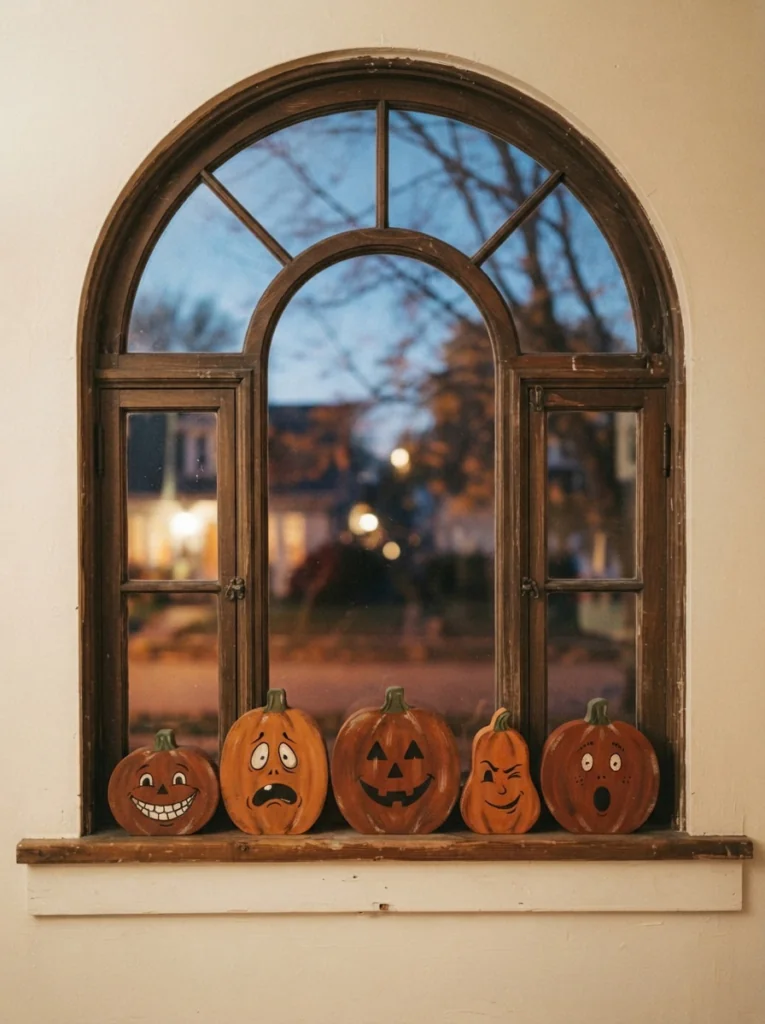
Line the bottom of the pane with pumpkins of different sizes. Start with loose orange ovaladd dark stems and leaves, then give each one a different face once the base dries. This design works well above a real pumpkin display on the porch or sill.
3. A Black Cat on the Windowsill
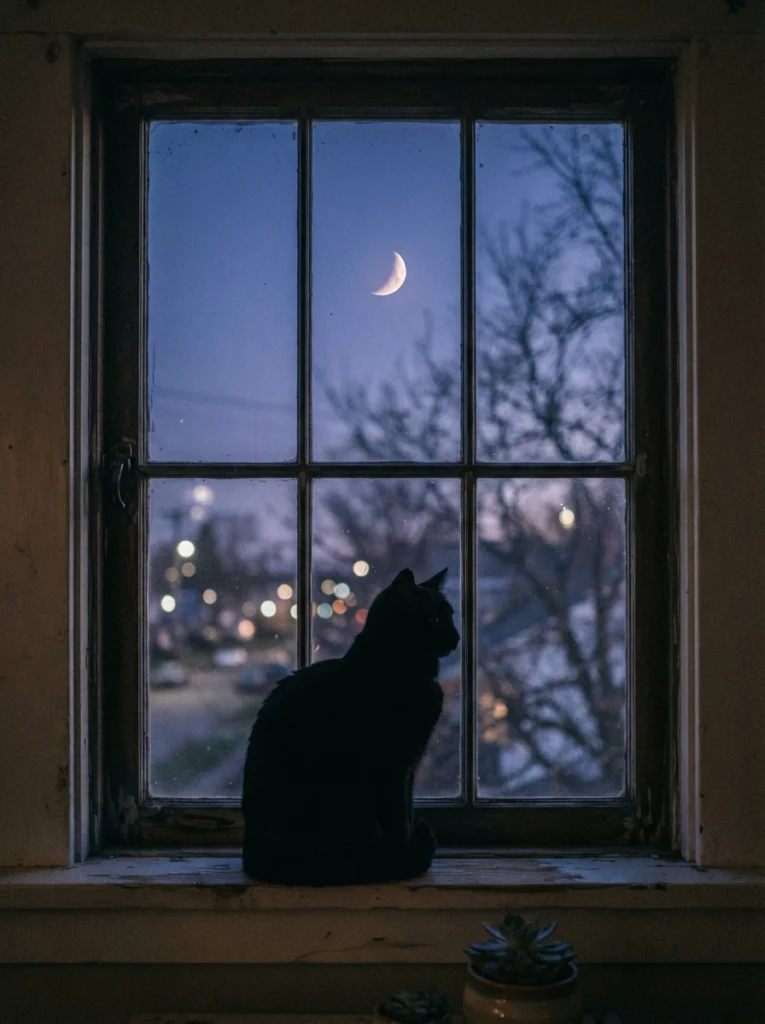
Use the bottom edge of the glass as a pretend sill. Paint a seated black cat with a curled tail, then add two bright yellow eyes after the body dries. A small moon in the corner gives the cat something to watch. It is a great pick for narrow front windows.
4. A Flight of Bats
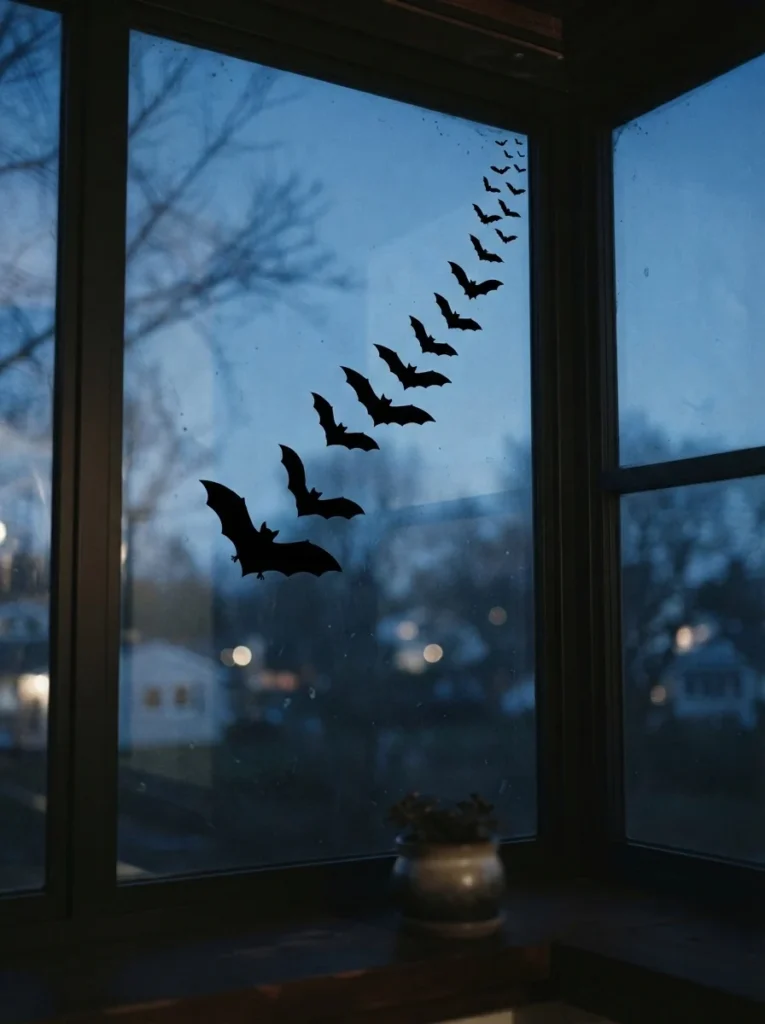
Paint one large bat near the bottom corner, then add smaller bats rising toward the opposite side. Solid black shapes work best, and the changing sizes create a sense of motion. You do not need to draw detailed wings. A simple curved shape looks great from the street.
5. A Candy Corn Border
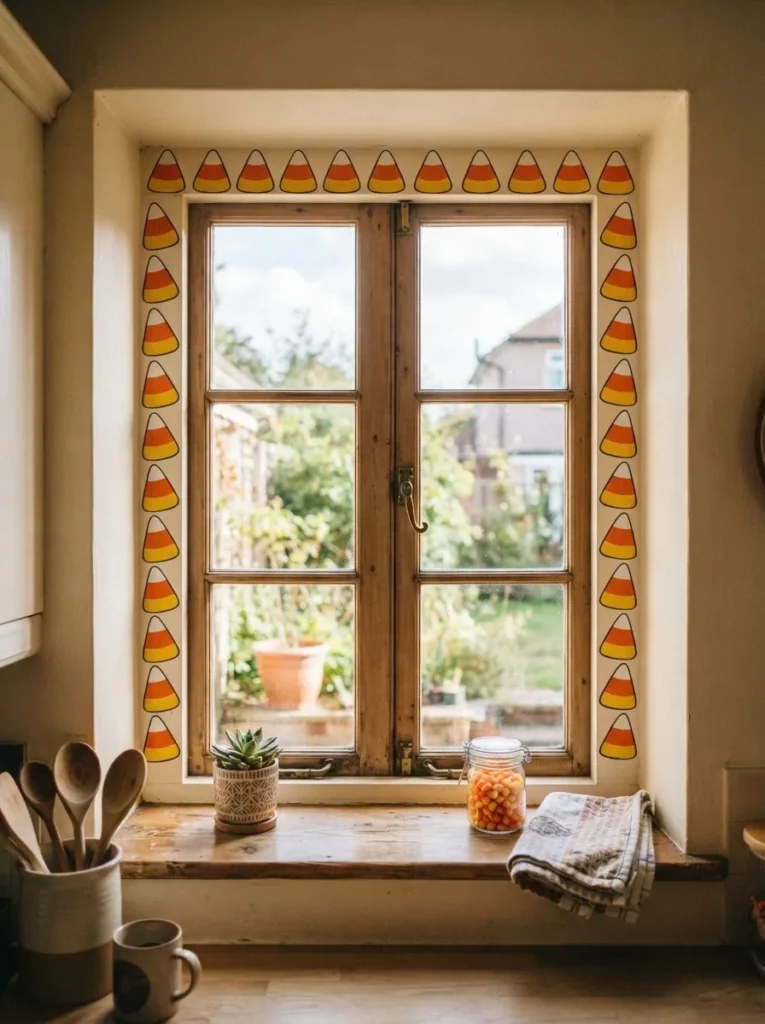
Frame the top and sides of a window with candy corn shapes in white, orange, and yellow. Tilt a few pieces for a handmade look. Stop the border a few inches above the sill so it does not crowd your other decor.
6. A Row of Friendly Monsters
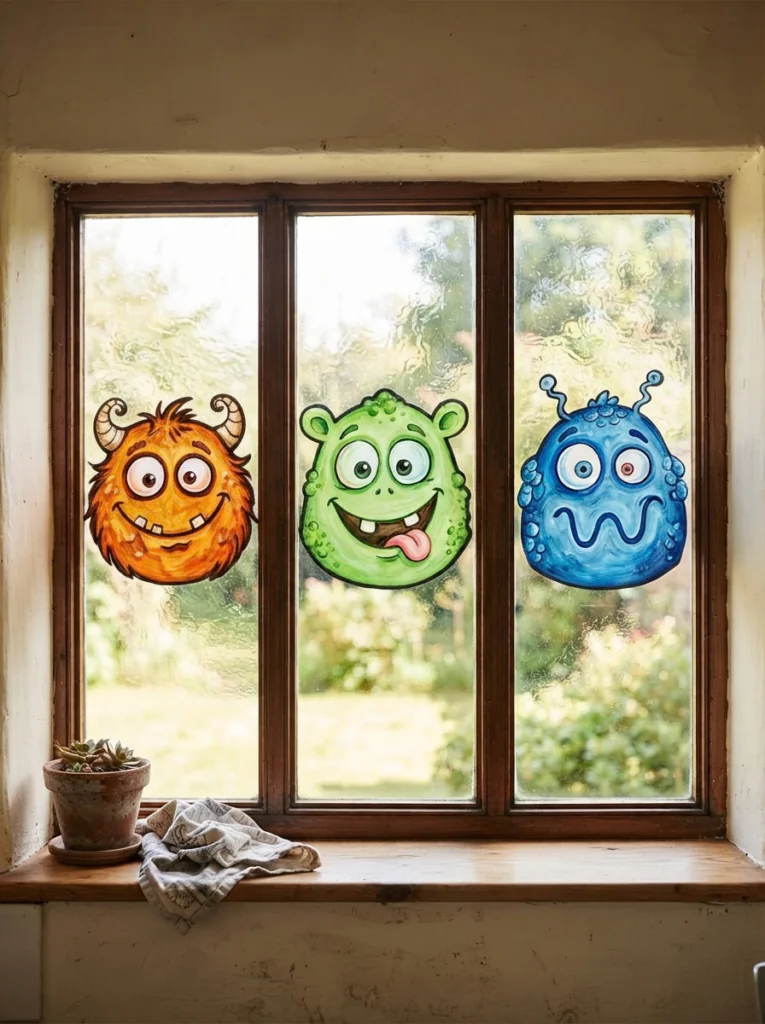
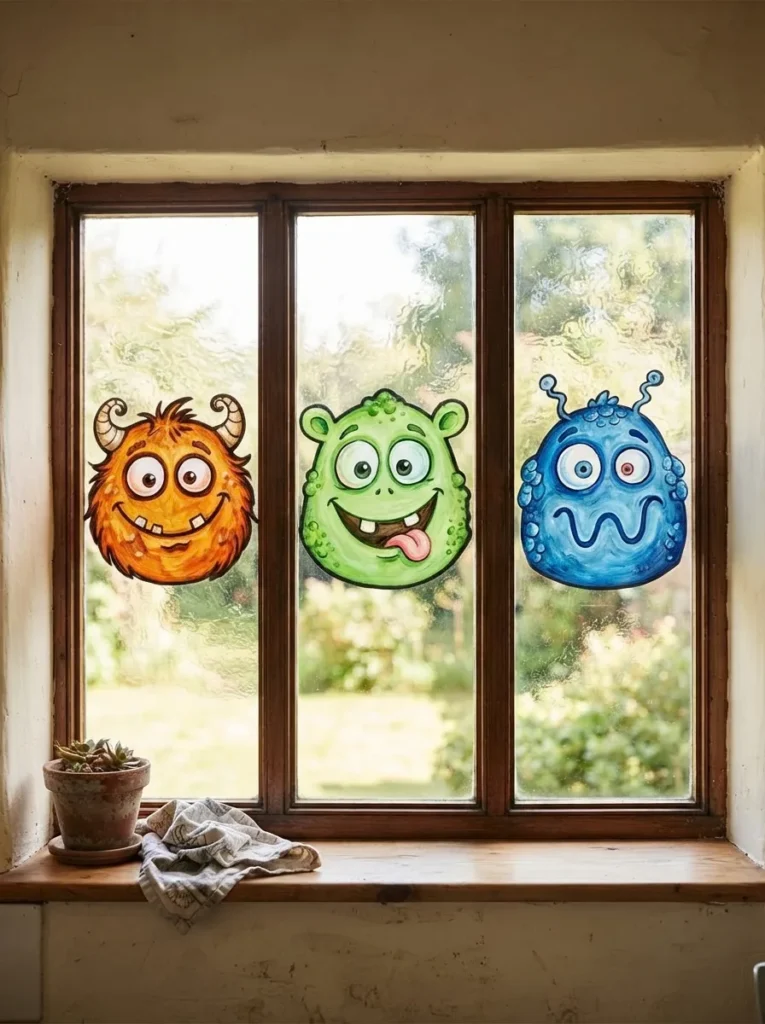
If your window has several panes, give each one its own monster. Use a round green face, a purple oval, and a blue squiggle, then vary the eyes and teeth. Kids love this one, and it does not matter if the shapes are uneven. Let children paint low sections while an adult does the high parts.
7. A Ghost and Star Garland
Paint a gentle curved line across the top of the glass, then hang small ghosts and stars from it at different lengths. The middle of the window stays open, so daylight still gets in. It is a quick design for a kitchen or patio door.
8. A Witch Hat Under the Moon
Paint a big crescent moon slightly off center, then float a small witch hat over its top point. Scatter a few uneven stars around it. For a softer palette, add a purple band to the hat and keep everything else black and cream.
Spooky and Scary Halloween Window Art
If you want the neighbors to jump a little, these designs bring the creep factor. Keep your audience in mind. What works for a street of teens may be too much for a block full of toddlers.
9. Spiderweb Corners With a Giant Spider
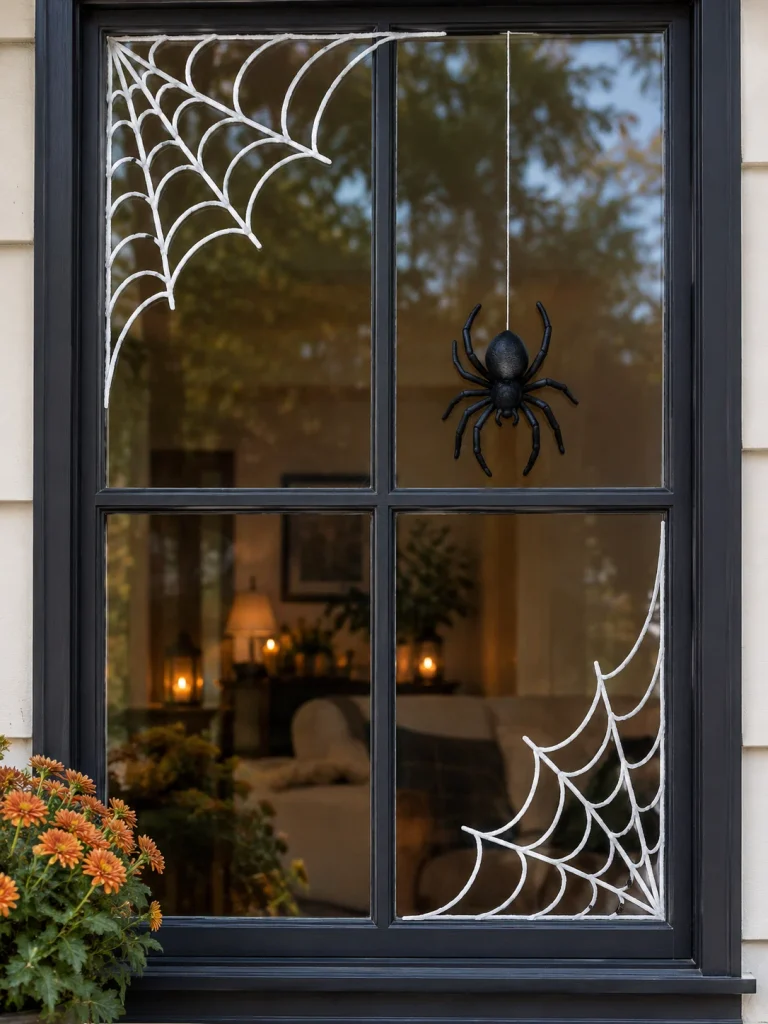
Paint a quarter circle web in one upper corner. Draw five or six lines from the corner first, then connect them with shallow curves. Use a thin white marker or small brush for an airy look. Add one big spider in the middle. You can echo the web in the opposite lower corner. This keeps your view clear and still says “Halloween” right away.
10. A Haunted House or Tiny Village
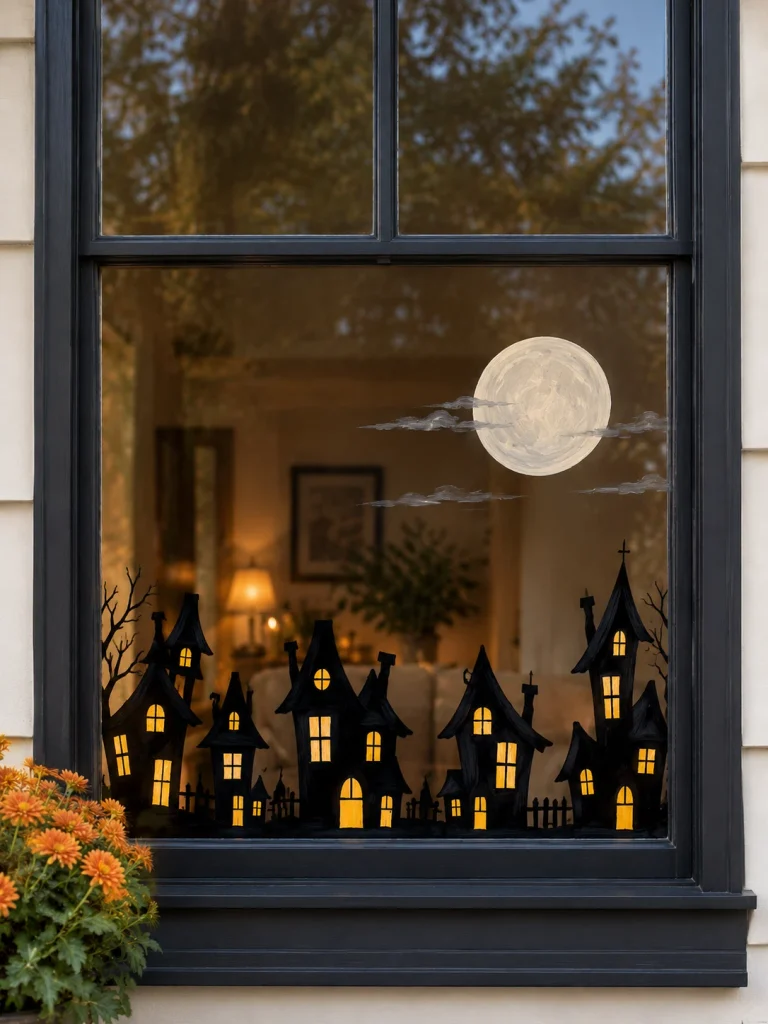
Line the bottom of a wide window with a few crooked houses of different heights. Use black or charcoal for the roofs and walls, then paint glowing yellow windows. Add a moon, a bare branch, and a path. When a lamp is on inside, the yellow windows really pop. A single haunted house in the corner works too.
11. A Waving Skeleton Hand
Paint one white hand and forearm rising from the lower edge, with the fingers bent in a wave. Round the bones so they look playful, and add a few sparkles. It is simple to paint and always gets a smile.
12. A Stained Glass Jack o Lantern
Outline a pumpkin face with thick black lines. Fill the sections with orange, yellow, and pink, leaving thin slivers of clear glass between them. When a light is on behind the window, the colors glow like real stained glass. Keep the eyes and mouth bold so the face reads from far away.
13. A Witch’s Potion Shelf
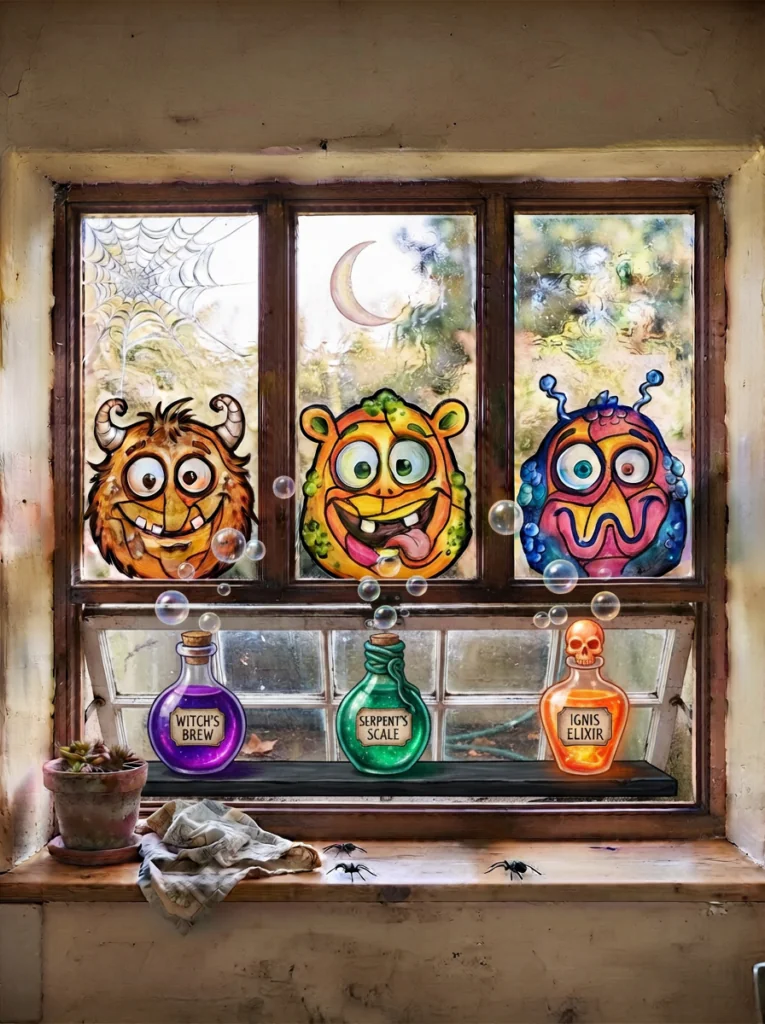
Paint a thin shelf line across the lower third of the window. Set three different bottle shapes on it and fill them with purple, green, and orange. Add bubbles or stars above the bottles. Skip tiny labels with words, since they can look backward from outside. Use simple symbols like skulls or stars instead.
14. Dripping Red Messages
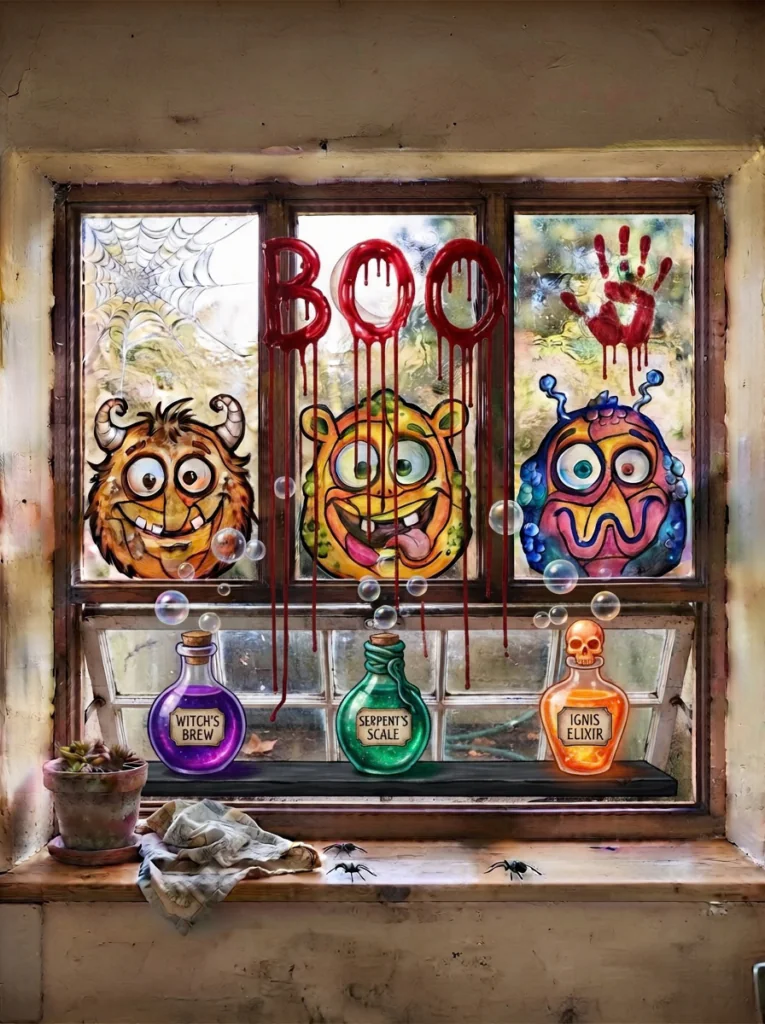
Use washable red paint for a classic horror look. Start at the top of the glass and let the paint drip down on its own, or drag a brush in short downward strokes. Simple words like “BOO” or a handprint work best. Some people use corn syrup and food coloring, but that can get sticky and attract bugs, so washable paint is a cleaner choice. Remember that this look is the scariest on the list, so skip it if little kids will walk by.
15. A Dark Forest With Glowing Eyes
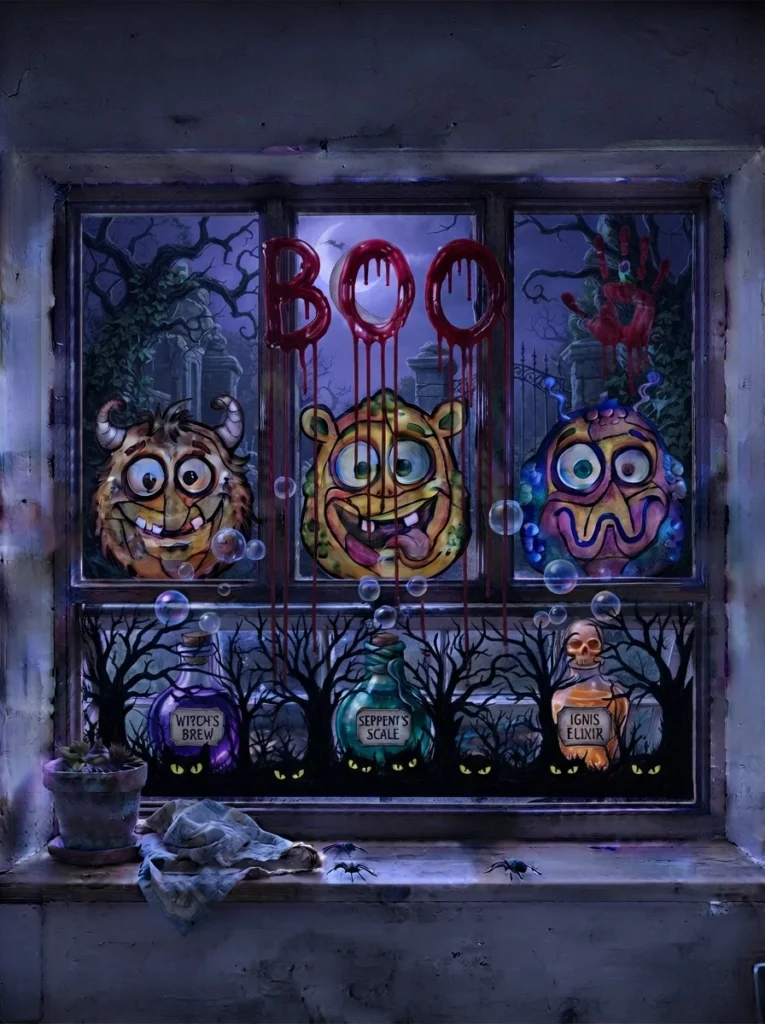
Paint bare tree trunks and twisty branches in black from the bottom of the window. Then add pairs of yellow or green eyes peeking from behind them. With a lamp behind the glass, the eyes seem to glow. It is simple, creepy, and works well with a little spooky music from a speaker.
Mixed Media and No Paint Halloween Window Ideas
Not everyone wants to paint glass, and that is fine. These ideas use paper, film, and stickers for the same wow effect, and many are easy to remove.
16. Paper Silhouettes From Grocery Bags
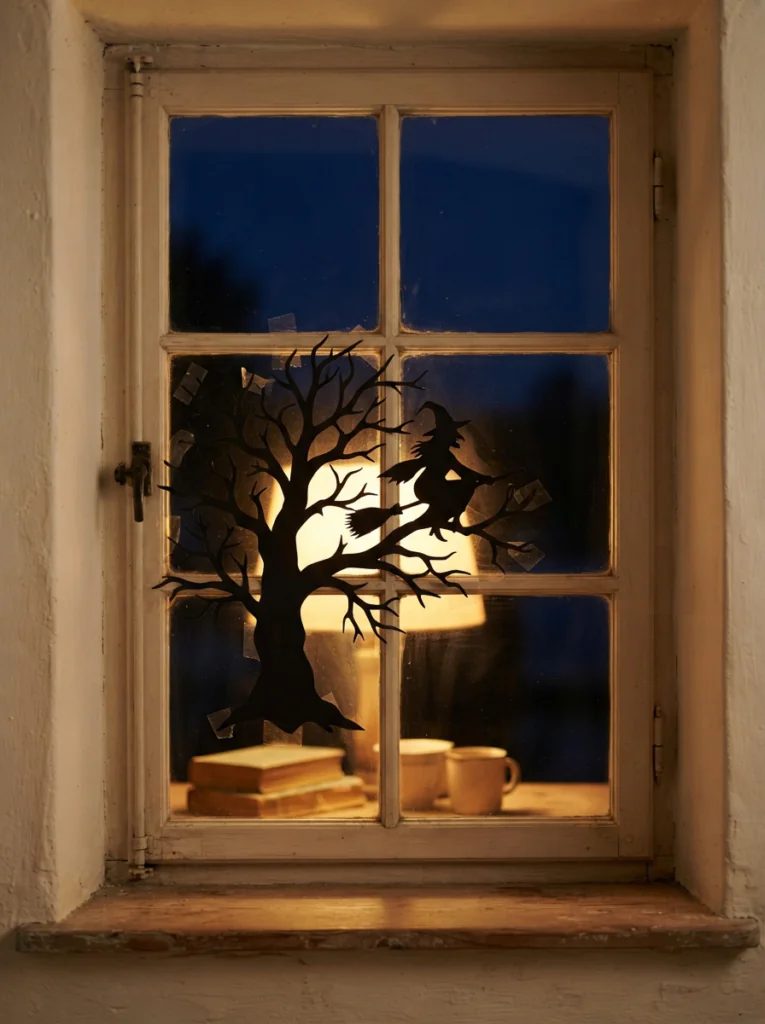
Cut open old brown paper bags and tape them flat. Paint one side black, or use chalkboard paint so you can add details with chalk. Cut out shapes like a witch, a spooky tree, a graveyard, or a haunted mansion. Attach them with double sided tape. It costs almost nothing, and a light behind the window makes them look dramatic at night.
17. Tissue Paper Sun Catchers
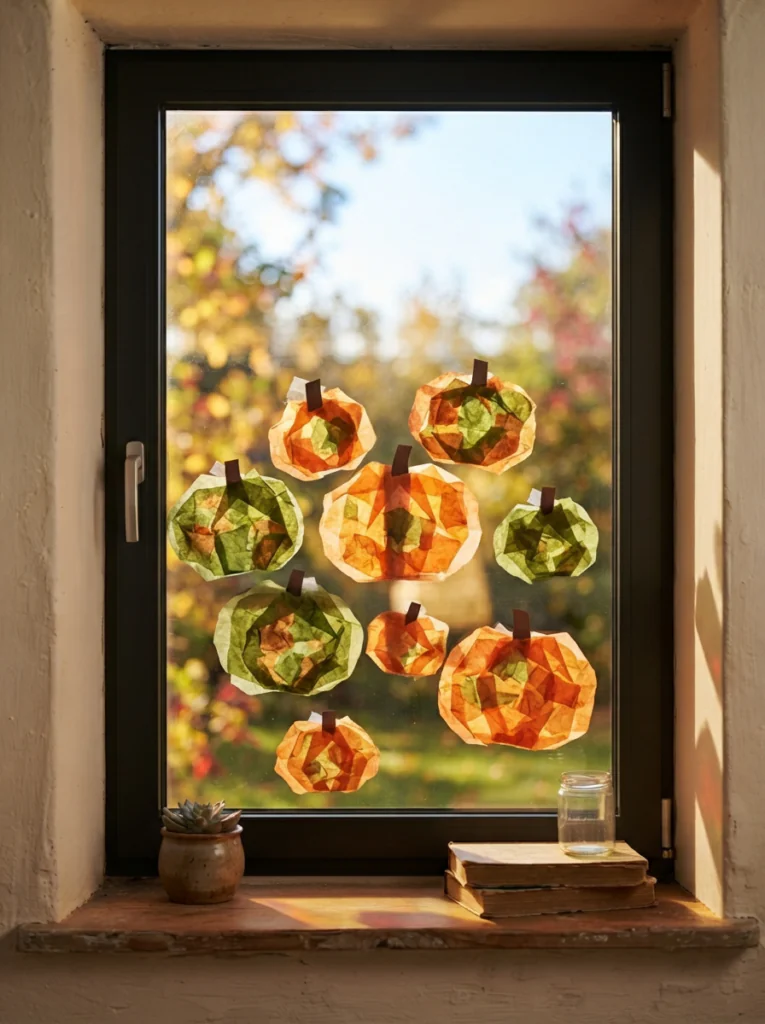
Lay a sheet of clear contact paper sticky side up and tape the corners to a table. Tear tissue paper into pieces and press them onto the sticky surface to fill a shape. Add a foam border, cut out the design, and stick it to the window. Pumpkins, leaves, and friendly monsters look best. Sunlight shines through them like colored glass.
18. Paper Tube Bats and Hanging Paper Pumpkins
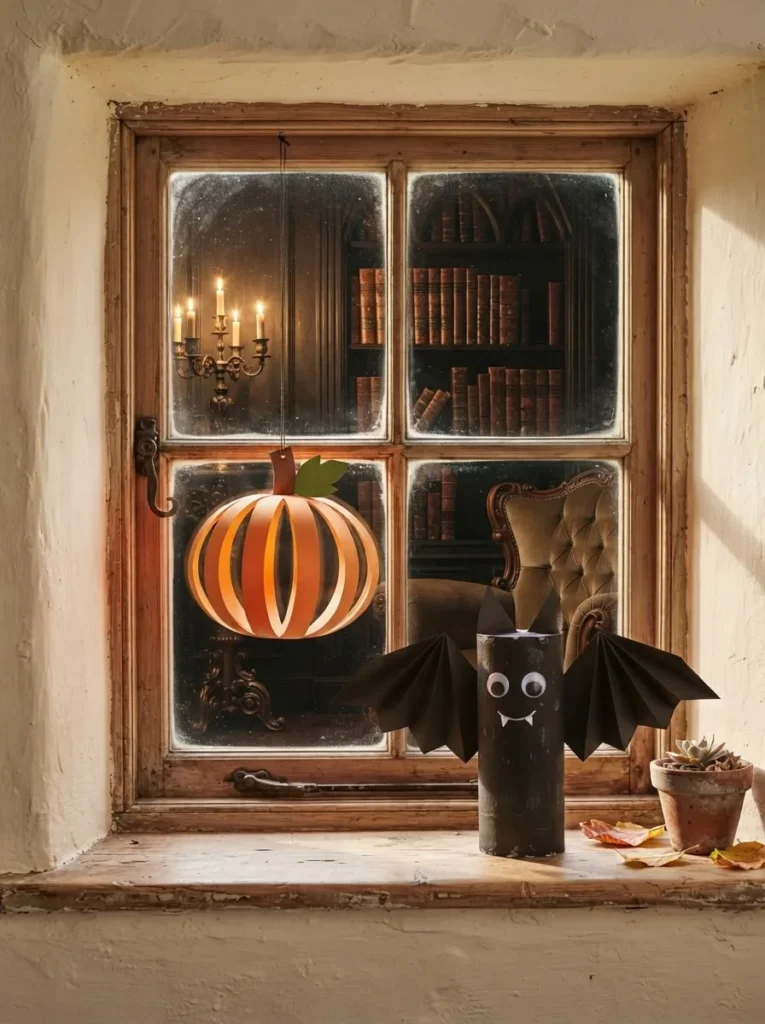
Make bats from toilet paper tubes. Wrap the tube in black paper, then glue on triangle ears and wings, and draw a face with a white crayon. For paper pumpkins, cut orange paper into one inch strips of different lengths. Stack them from longest to shortest, staple each end, and fan them out into a round shape. Add a stem and leaves. Hang them in front of the glass with thread.
19. A Boarded Up Haunted House Window
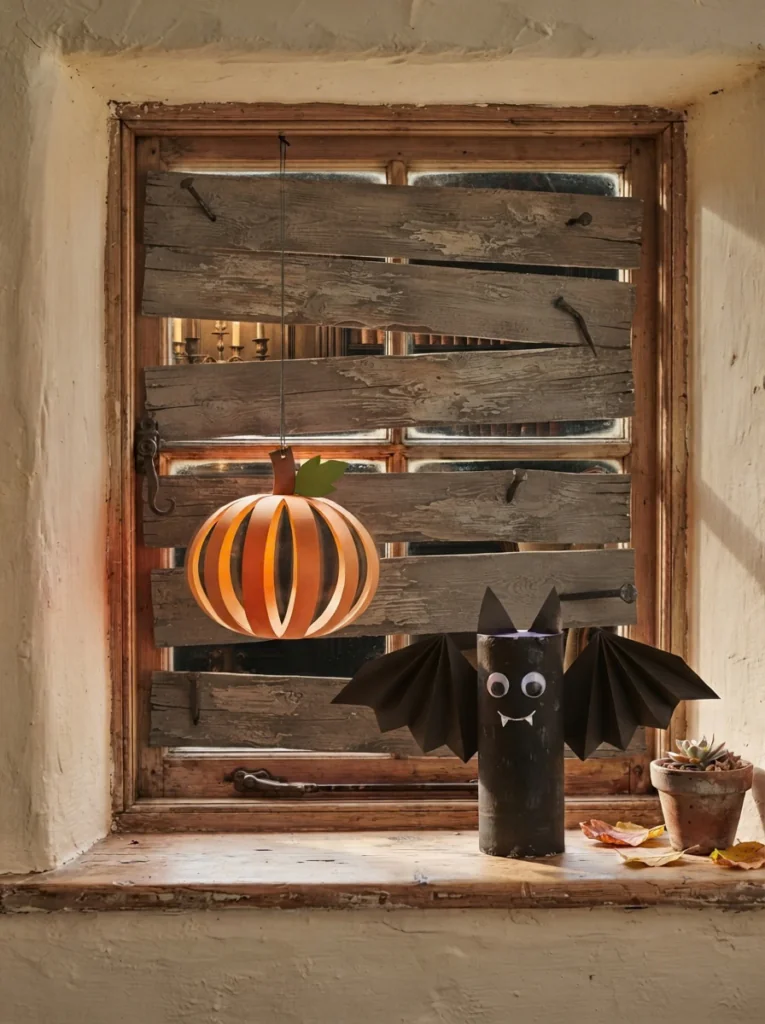
For a big impact, make fake boards. Cut thick foam insulation board into plank shapes, paint them beige, then brush on brown glaze. While wet, drag a piece of toothed cardboard through to create wood grain. Hang them across the window with straps or fishing line. Real wood would be heavy and risky, so foam is a safer choice.
20. A Shattered Glass Effect
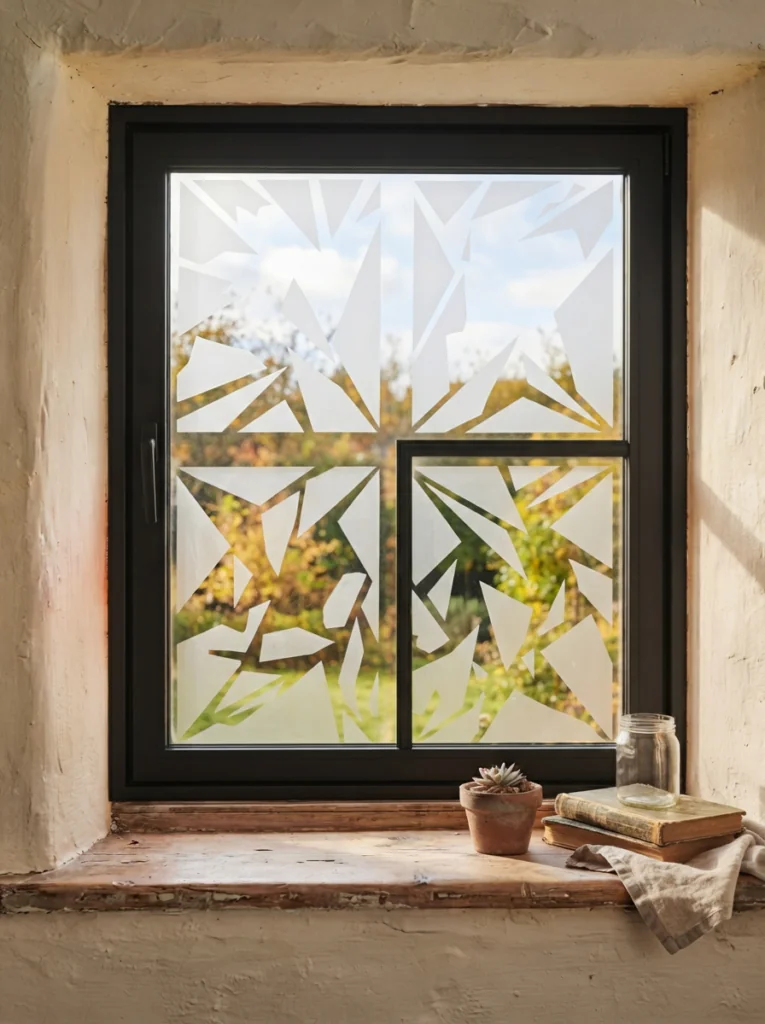
Cut frosted privacy film into jagged shapes and stick them on a very clean window so it looks like cracked glass. For a foggy, haunted feel, you can also use aerosol glass frosting in light mists, which wipes away after the season. Make sure the glass is spotless first, so the effect looks sharp.
21. Window Clings and Decals
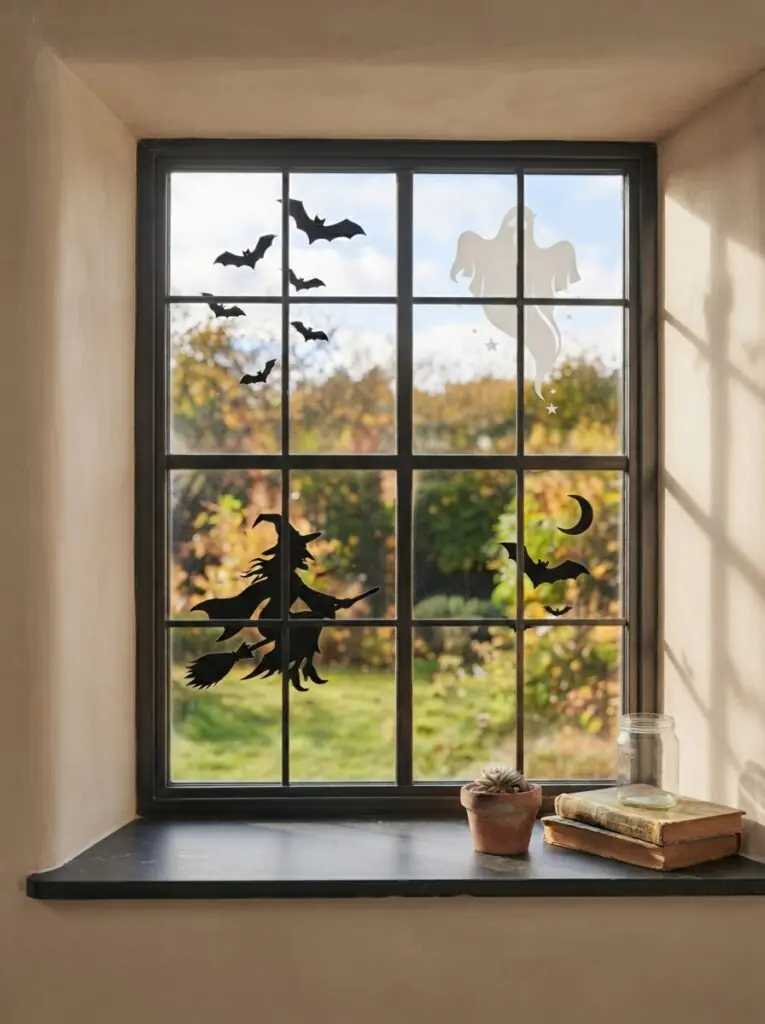
Window clings are an easy option, especially for renters and busy people. Static clings can be peeled off and reused next year. Vinyl decals can be printed on both sides so they look good from inside and outside. Frosted decals add a mysterious feel. Mix and match bats, cobwebs, ghosts, and a dead tree to build your own haunted scene.
22. A Message Board for Trick or Treaters
Use a window marker to write a note to visitors. It can say where to find the candy, that you are out of treats, or that a baby is sleeping. A funny slogan like “Stop in for a spell” works too. It saves you answering the door and sets the mood. Write it on the outside of the glass so it reads correctly, or trace a reversed copy.
23. One Big Scene Across Several Windows
If you have a bay window or a row of panes, paint one story across all of them. A graveyard with a big moon, a haunted street, or a forest works well. Or give each pane its own character, like a ghost, a pumpkin, a cat, and a bat. Blinds behind the glass can cast extra shadows at night.
24. Lights and Projections
Add a glow to your painted designs with a light up web, a lit ghost, or a projector. A small projector can show moving bats or stained glass on the glass without any paint. Combine a painted scene with indoor fairy lights, a paper garland, or a string of orange bulbs for a layered look.
How to Plan Layout, Color, and Lighting
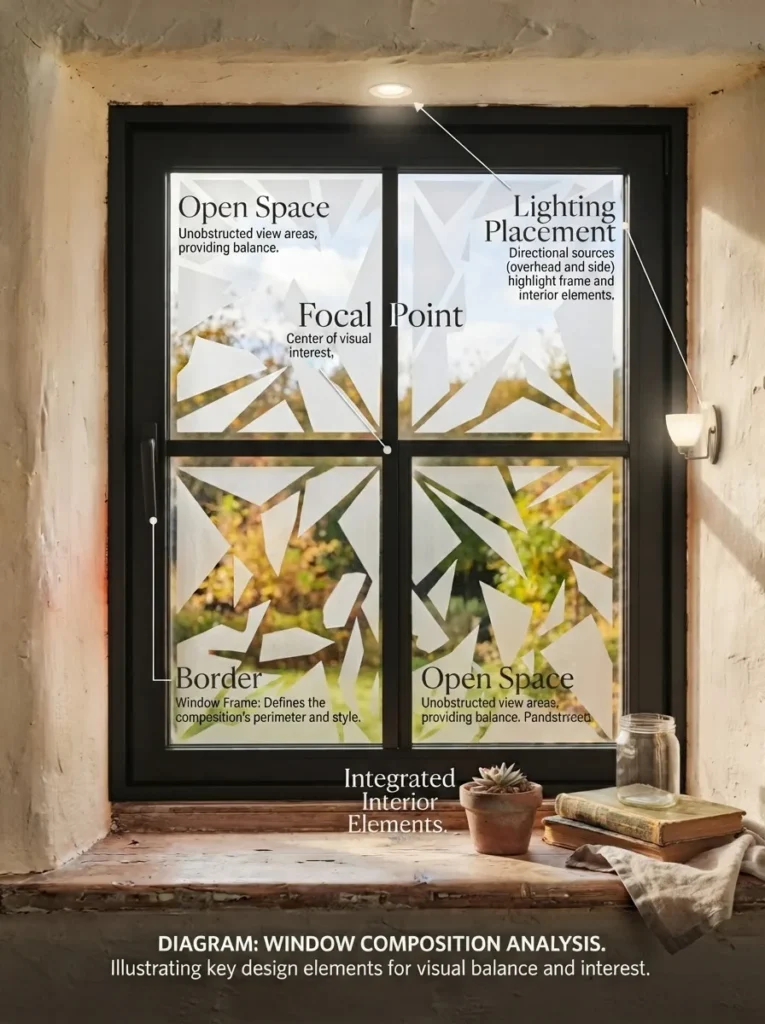
Good Halloween window art is about planning as much as painting. These tips help any design look better.
Pick Two or Three Colors
Limiting your palette makes a window look polished. Try black and orange, black and white, or purple, green, and black. Many designers suggest three colors at most. Add a fourth only as a small accent, like yellow eyes or a red drip.
Think Big and Simple
From the street, big shapes read better than tiny details. A large ghost beats ten small ones. Leave open glass around your design so the eye has room to rest, and so daylight still gets in.
Use Contrast
Light shapes pop in dark rooms, and dark shapes show up against bright rooms. If your room is dim in the evening, use white or yellow. If it is bright, use black and deep orange.
Add Light From Behind
Place a lamp or colored bulb behind the glass at night. Orange, purple, or green lights set a mood. Choose LED lights instead of candles, since they stay cooler and are safer near curtains and shades. Battery powered strings give you the most freedom.
Add Depth Inside the Room
Hang paper ghosts or bats from the ceiling with clear thread behind the window. A small fan can make them sway. This 3D effect turns a flat painting into a scene. A pumpkin patch on the sill, with real and faux pumpkins at different heights, also adds depth and carries your theme indoors.
Paint the Frame Too
If your window frames are wood or a paintable surface, an orange or black frame can feel festive. Check your home rules and use the right paint if you do this. For a temporary look, wrap the frame in orange lights instead.
Halloween Window Art for Shops and Cafes
If you run a small business, windows are free advertising. Paint candy, pumpkins, and spooky silhouettes, then add a message like a sale or a trick or treat offer. Use perforated window decals if you want a full design that still lets people see out. Keep the artwork away from your main product display so customers can still see inside.
Cleanup, Safety, and Timing
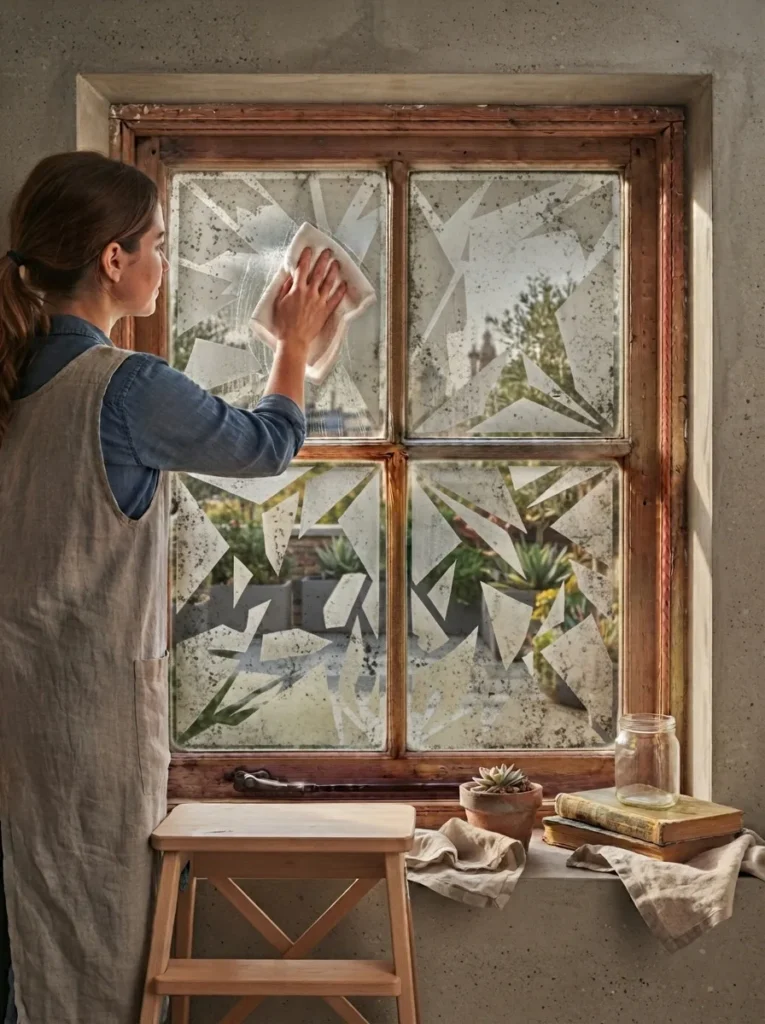
A great window is only great if it comes off easily. Follow these steps to protect your glass and your family.
How to Remove Window Paint
- Follow the removal steps on the product label.
- For washable window paint, wipe with a wet paper towel or soft cloth.
- Finish with glass cleaner for any leftover streaks.
- Peel off peelable paint in one piece, or lift clings and decals slowly.
- Never use a sharp scraper or harsh cleaner on tinted or coated glass.
Keep Birds Safe
If birds hit your window often, know that a few widely spaced Halloween shapes will not fix the problem. Effective bird safety patterns go on the outside and are placed close together. Leave any existing bird safety treatment in place and plan your Halloween design around it.
Safety Checklist
- Use a step stool carefully and have a helper hold it.
- Let kids paint only at a safe height, with an adult close by.
- Use LED lights instead of flames near fabric.
- Keep cords tidy and out of walkways.
- Attach anything heavy securely so wind cannot knock it loose.
- Choose washable, non toxic supplies when children are involved.
Timing
Many people start decorating two to three weeks before Halloween. That gives you time to enjoy it without it looking tired. Take decorations down within a week after Halloween, unless the theme, like pumpkins and leaves, fits into fall and Thanksgiving.
Frequently Asked Questions
What paint is best for Halloween window painting?
Use washable paint or markers made for windows or glass. Always read the label for application and removal directions. Test a small spot first, especially on tinted or coated glass.
Can I paint on the inside of the window?
Yes, if the product allows it. Painting inside keeps your art out of rain and wind, and it is easier to reach. Just check how it looks from the street, and remember that words can appear backward from outside.
How do I remove Halloween window art?
Use the removal method that comes with your paint. Most washable paints wipe off with a wet cloth, then glass cleaner. Peelable paint lifts off in one piece. Avoid sharp tools on any glass.
What is the easiest Halloween window design for kids?
Big ghosts, smiling pumpkins, and silly monsters are the easiest. Their shapes do not have to be neat, and kids can fill them in with bright washable colors. An adult can handle outlines and high spots.
How can I decorate windows for Halloween without paint?
Try paper silhouettes, tissue paper sun catchers, window clings, frosted film, or a projector. Hanging paper bats and ghosts behind the glass also works well, and they are easy to remove.
Conclusion
You now have 24 Halloween window painting ideas to choose from, plus tips to plan, light, and clean them up. Start with one pane and one simple design, like a ghost trio or a spiderweb. Step outside to check how it looks from the street, then add a little more if you want. Whether you choose cute Halloween window art or a full haunted scene, the best window art is the kind you enjoy creating.
Ready to get started? Pick your favorite idea from this list, grab your washable supplies, and paint your first window this weekend. Then snap a photo and share it with friends, because your neighbors will want to see it.