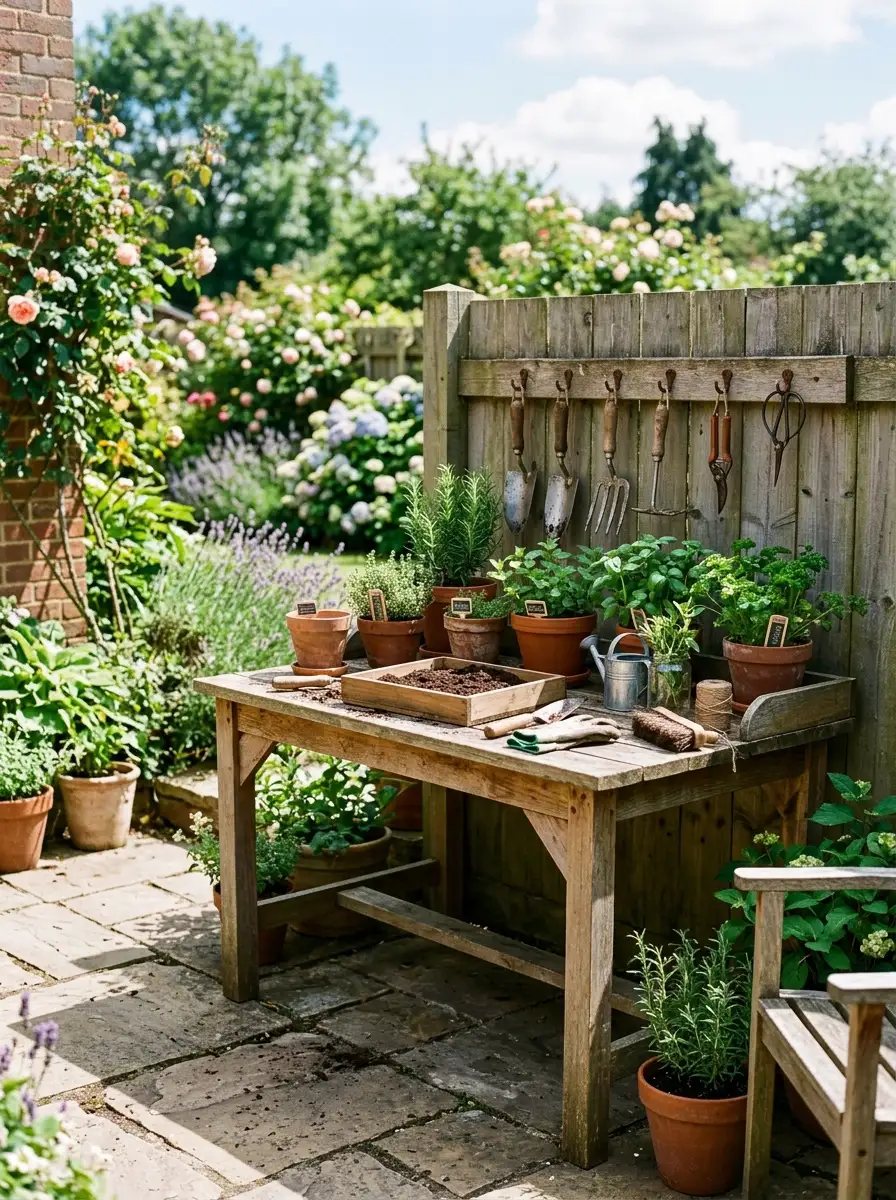
A good gardening table gives you one steady spot for every messy, rewarding job in the garden. You can pot up seedlings, trim cuttings, mix soil, and clean tools without bending over or hauling dirt through the house. If you have ever balanced a pot on a bucket or knelt on the patio to repot a plant, you already know why this piece of gardening furniture matters.
In this guide, you will learn what a gardening table is, which types work best, and how to choose the right size, height, and material. You will also get simple gardening table plans you can build in a weekend, budget upcycling ideas, storage tricks, and care tips. Let’s get started.
What Is a Gardening Table and Why Do You Need One?
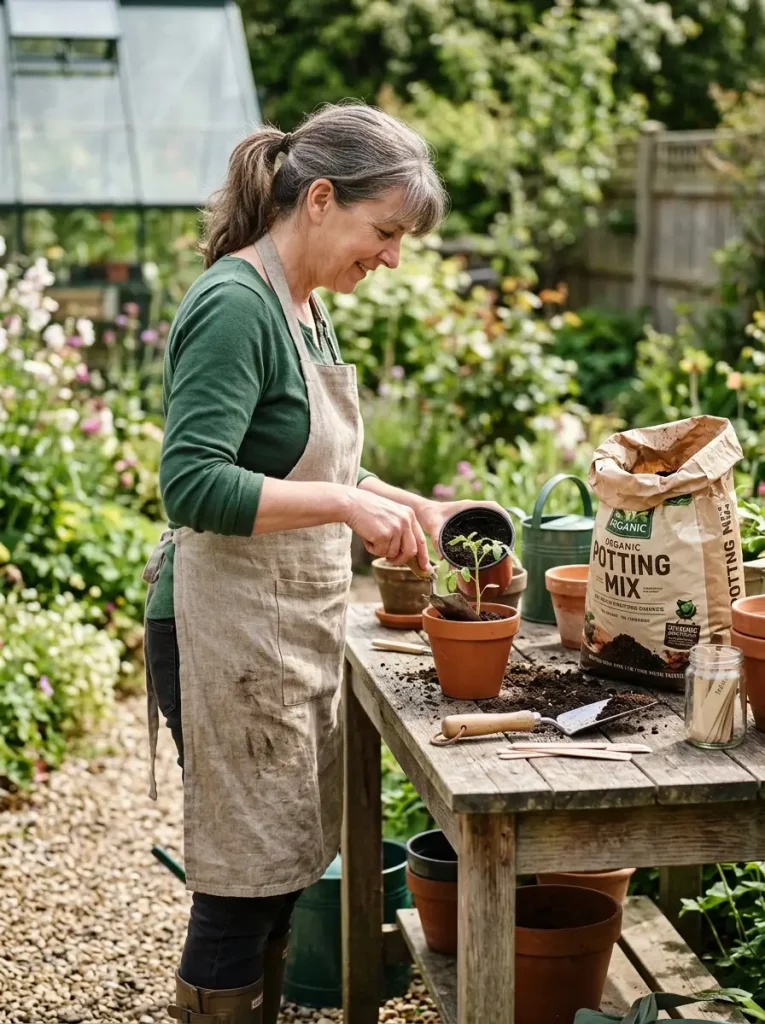
A gardening table is a sturdy work surface made for potting plants, sowing seeds, and doing garden prep. Most people call it a potting bench or gardening workbench. It sits at a comfortable standing height and usually has storage for pots, soil, and tools. While learning what a gardening log is, you can also use your gardening table to record planting dates, watering schedules, and plant growth for easier garden planning.
A gardening table keeps plant work in one place, saves your back, and keeps soil mess outside. The best ones have a durable top, a lower shelf, and a spot to hang tools.
Here is why gardeners swear by them:
- Better posture. Working at waist height is easier on your back and knees than crouching.
- Less mess. Soil, spilled seeds, and old roots stay on one surface that you can hose or sweep clean.
- Faster work. When tools, pots, and soil live within arm’s reach, a one hour job stays one hour.
- A garden with a home base. Many gardeners say the bench becomes their favorite corner of the yard.
You also do not need a big yard. One gardening designer shared a story of a worn antique workbench tucked along a garage wall that became her favorite spot. A tiny corner, a narrow side strip, or a covered porch is enough. Her advice was simple: find a corner, even a small one, add a table, and make it yours.
Types of Gardening Tables to Consider
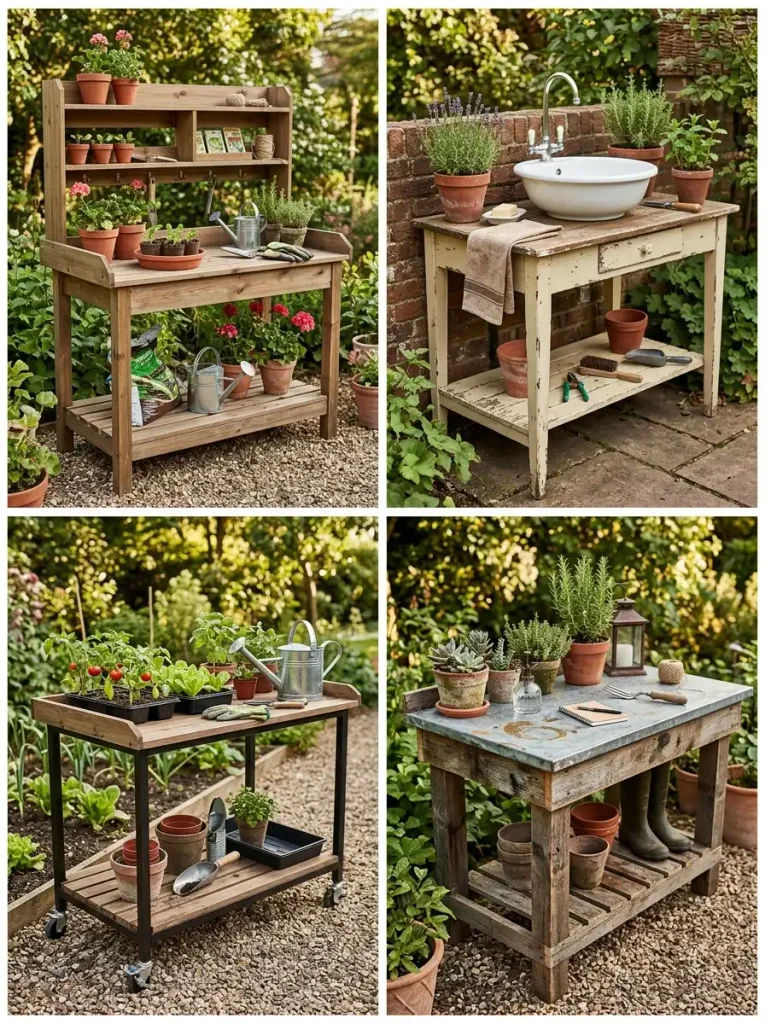
Not every gardening table looks the same. The right pick depends on your space, your budget, and how you garden. Here are the most common options.
Classic Potting Bench
This is the style most people picture: a flat work surface, a lower shelf, and often a back panel with a small shelf on top. It is great for general potting and holds up well when built from treated lumber or cedar. If you want one all purpose gardening workbench, start here.
Gardening Table With a Sink
A built in sink turns a bench into a mini workstation. You can rinse roots, wash pots, and fill watering cans without walking to the hose. Some gardeners use old bar sinks or vintage double drainboard sinks, which add a lot of character. Add a hose reel nearby and the setup gets even easier. The main thing to plan is drainage. You will need a hose, a pipe, or a bucket to carry the water away from the bench.
Planting Tables for Gardening With Lattice or Slatted Tops
Some planting tables for gardening have a slatted or lattice section on top. When you pot a plant, extra soil falls through the gaps into a bin underneath. Cleanup takes seconds. Removable top pieces also make it easy to reach the storage area below. This design is a favorite for people who pot a lot of succulents or herbs.
Upcycled Gardening Table
You can turn almost any sturdy piece into a gardening table. People have used old outdoor dining tables, kitchen cabinets, desks, changing tables, pallets, shutters, baker’s racks, and even old doors with plumbing pipe legs. This is the best choice if you love a weathered, one of a kind look and want to spend little.
Portable and Wheeled Gardening Tables
If your garden changes with the season, wheels are worth it. A portable gardening table outdoor setup lets you chase the shade in July and roll the bench under cover when rain arrives. Folding tables also work well for small patios, because you can store them flat in winter.
Tiered and Tall Gardening Tables
Three tiered benches give you display space for finished pots. Tall shelves on both sides of a work table can also hold your garden treasures on top and store fertilizer in covered cabinets below. This keeps the work surface clear and the clutter out of sight.
Vintage and Antique Tables
An old carpenter’s workbench, a zinc and wood table, or an enamel top kitchen table all make lovely gardening tables. Peeling paint, rust, and weathered wood add charm. Just remember that antiques do not love rain, so keep them under a roof or bring them in for winter.
How to Choose the Right Gardening Table
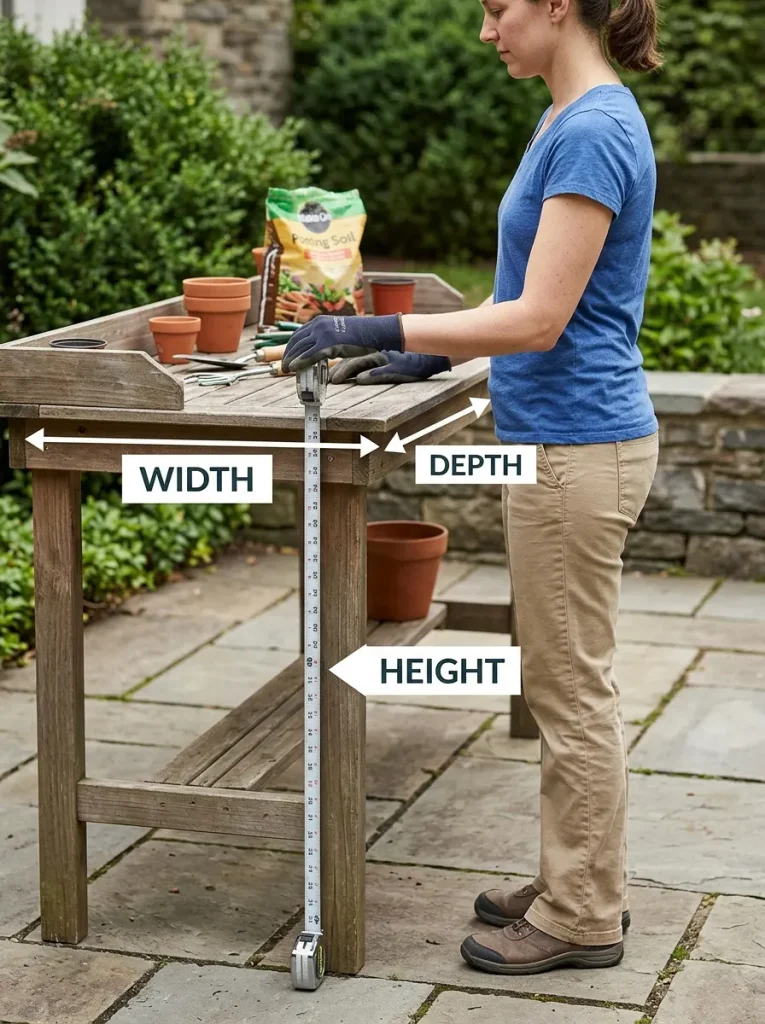
Before you buy or build, think about how you will really use it. These factors matter most.
Height
A comfortable gardening table is usually 34 to 38 inches tall. A simple test: stand up straight with your elbows bent at a right angle. Your work surface should sit a few inches below your elbows. If you are tall, add a few inches. If you often sit while you work, aim for 28 to 30 inches and use a stool.
Depth and Width
Most benches are 18 to 24 inches deep and 36 to 60 inches wide. A shallow bench fits a narrow side yard. A deeper one gives you room for a soil tray and a few pots at the same time. If you plan to pot big containers, go for at least 24 inches of depth.
Material
- Pressure treated pine: Strong, affordable, and resists rot. Wait several months before painting or sealing it, because the wood needs time to dry out.
- Cedar: Naturally resists moisture and bugs, and looks beautiful. It costs more.
- Regular pine or fir: Cheap and easy to work with, but it must be sealed well, or kept under a roof.
- Metal or galvanized tops: Easy to wipe clean and very durable. Great for messy tasks.
- Plastic or resin: Light and rainproof, though less sturdy for heavy pots.
- Reclaimed wood: Full of character and often free. Check it for rot and nails before you start.
Weather and Location
If your table sits in full weather, choose treated wood, cedar, or metal and add a sealer. If it sits on a covered porch or inside a shed, you have more freedom. A bench in a damp spot can also attract mice and other small animals, so plan for pest control (more on that below).
Features Worth Having
Look for a lower shelf, hooks for tools, a place for a bin, and a work surface that is easy to clean. A drawer is great for small items. A sink is a bonus if you have a water source nearby.
DIY Gardening Table Plans You Can Build in a Weekend
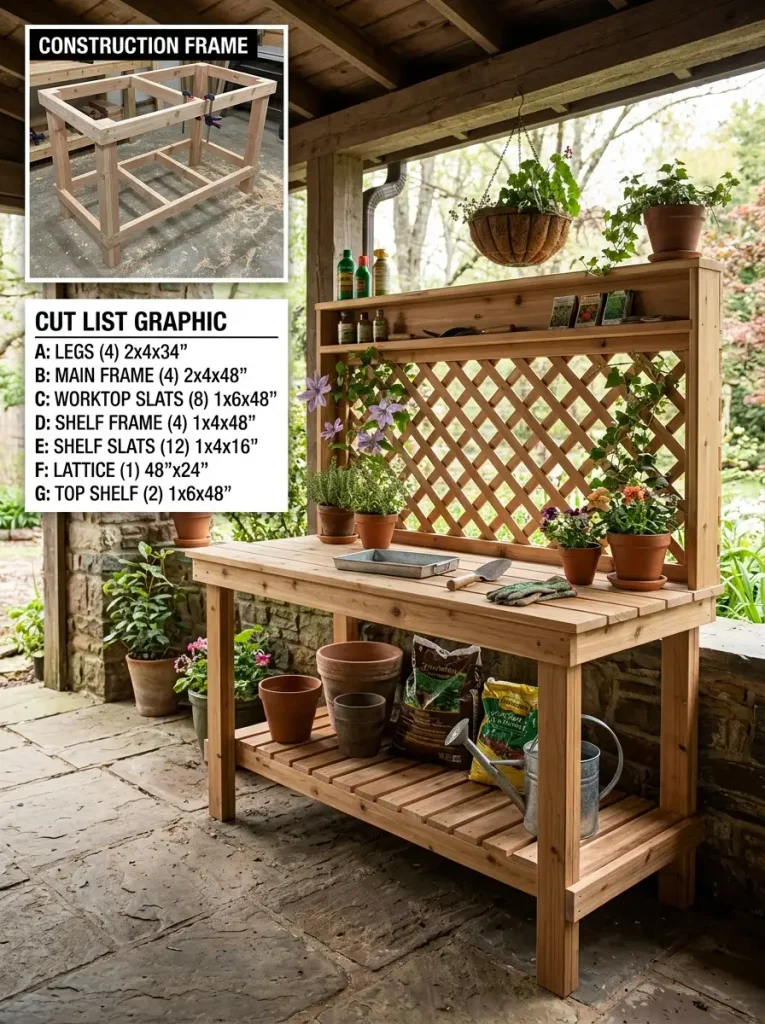
Building your own gardening table costs less than buying one, and you can size it to fit your space. Most beginners finish this project in a day or two. These gardening table plans create a bench about 48 inches wide, 24 inches deep, and 36 inches tall to the work surface, with an optional lattice back and shelf.
Tools You Will Need
- Miter saw or circular saw
- Drill and driver
- Tape measure and speed square
- Sandpaper (120 and 220 grit)
- Clamps
- Staple gun or crown stapler (for lattice)
Materials
- Four 2x4s for legs, cut to 35 1/2 inches
- Frame rails from 2x4s: four cut to 48 inches and eight cut to about 21 inches
- Seven 1×4 boards, cut to 49 inches, for the work surface
- Six 1×4 boards, cut to 45 inches, for the lower shelf
- One sheet of wood lattice, cut to fit the back
- Extra 1x4s for the lattice frame, plus one 1×6 for the top shelf
- 2 1/2 inch exterior screws and 1 1/4 inch exterior screws
- Wood glue (optional but helpful)
- Exterior stain, sealer, or paint
Step 1: Build the Frame
Lay two legs on the floor and attach a long frame piece across the top using two screws at each joint. Add a second long piece about 10 inches from the bottom. This will hold your lower shelf. Repeat for the other pair of legs so you have a front and a back frame.
Next, connect the two frames with short side rails at the top and bottom. Use a speed square to check each corner. Predrill your holes so the wood does not split. Add a few extra support boards under where the work surface will sit. They are not always required, but a little extra strength never hurts, especially if you plan to lift heavy bags of soil.
Step 2: Add the Lower Shelf
Lay the shelf boards across the bottom frame. Leave small gaps of about a quarter inch so water can drain and air can move. Screw each board down at both ends. You do not have to be perfect here. This is an outdoor piece, and a little imperfection adds to the charm.
Step 3: Attach the Work Surface
Place the top boards across the upper frame, letting them hang over the front by about one inch. Space them evenly with a small gap, or push them tight if you want a smooth work area. Gaps help soil and water fall through. Tight boards are better for fine seeds. Screw each board down with at least two screws at every support.
Step 4: Add a Lattice Back and Shelf
A lattice back is more than a pretty detail. It gives you a place to hang tools and baskets and makes space for a top shelf. To build it:
- Make a rectangular frame from 1×4 boards. Use corner clamps if you have them to keep everything square.
- Cut the lattice to fit. Watch for staples in the lattice, and avoid cutting right through them.
- Sand the cut edges with 120 grit and then 220 grit paper.
- Attach the lattice to the back of the frame. A crown stapler works best, because screws can split thin lattice strips. A regular staple gun, predrilled holes, or a touch of wood glue also work.
- Add a 1×6 board as a top shelf about 12 inches from the top for extra depth.
- Screw the frame to the back of your work surface.
Step 5: Sand, Seal, and Finish
Sand every surface so no splinters catch your hands. Then choose your finish:
- Natural wood has a warm, simple look. One gardener left her bench bare next to her greenhouse and loved how cozy it felt. Add a clear sealer to protect it.
- Paint or stain gives you color. Blue, white, and sage green are popular. If you used pressure treated wood, wait a few months before painting.
- Add details like corbels, arched sides, or a trim board for a cottage look.
If you want to paint a store bought bench, spray the pieces after you assemble it, not before. That way you cover the screw heads and joints too.
Safety Tips
Wear gloves and safety glasses when cutting and sanding. Treated lumber dust is not something you want to breathe, so work outside and wear a dust mask. Line your work surface with a mat or tray if you will handle edible plants.
Budget Ideas: Upcycle a Gardening Table From Things You Already Own
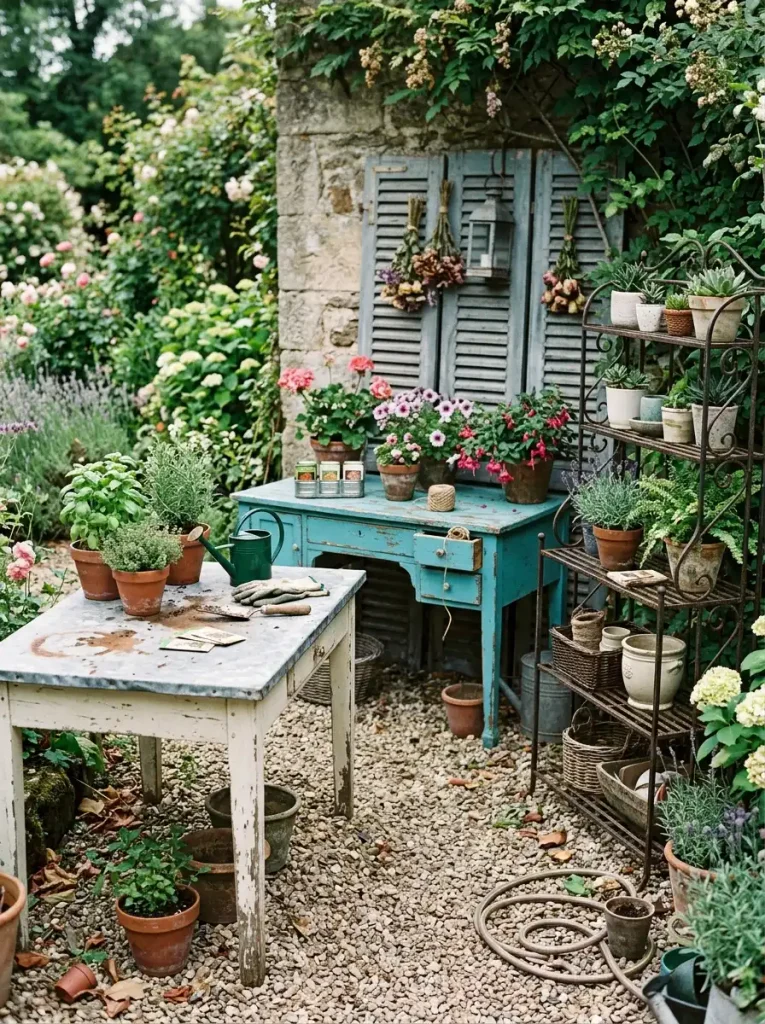
You do not need to build anything from scratch. Here are creative ways to make a gardening table from items around your home or from thrift stores.
- Old dining table: Cut it down to the right size and add a galvanized sheet metal top. It looks great and wipes clean.
- Kitchen cabinet: Mount an old base cabinet on a sturdy stand. You get storage doors for free.
- Desk with shutters: Use the desk as the work surface and attach painted shutters behind it as a tool rack.
- Baker’s rack: Spray paint a thrift store rack and use the shelves for pots and the top for potting.
- Old door and pipes: An old door makes a rustic top. Plumbing pipe legs add an industrial feel.
- Pallets: Pallet wood is cheap, but check that it is heat treated (look for the HT stamp) and not chemically treated.
- Washtub: Fill a large old washtub with potting soil and small shovels. The mess stays in the tub, and it works on a tiny balcony.
- Wheelbarrow: Fill it with soil, pull it to your plants, and pot on the spot. It also acts as a mobile table.
- Changing table or dresser: The drawers are perfect for seed packets, gloves, and small tools.
- Yard sale find: A one dollar table with a coat of paint can turn into a lovely planting station.
When you upcycle, check for strength first. Set a heavy pot on the table and press down. If it wobbles, add brackets or braces. A bench that tips over with a full soil bag on it is a project fail you do not want.
Storage and Organization Ideas for Your Gardening Table
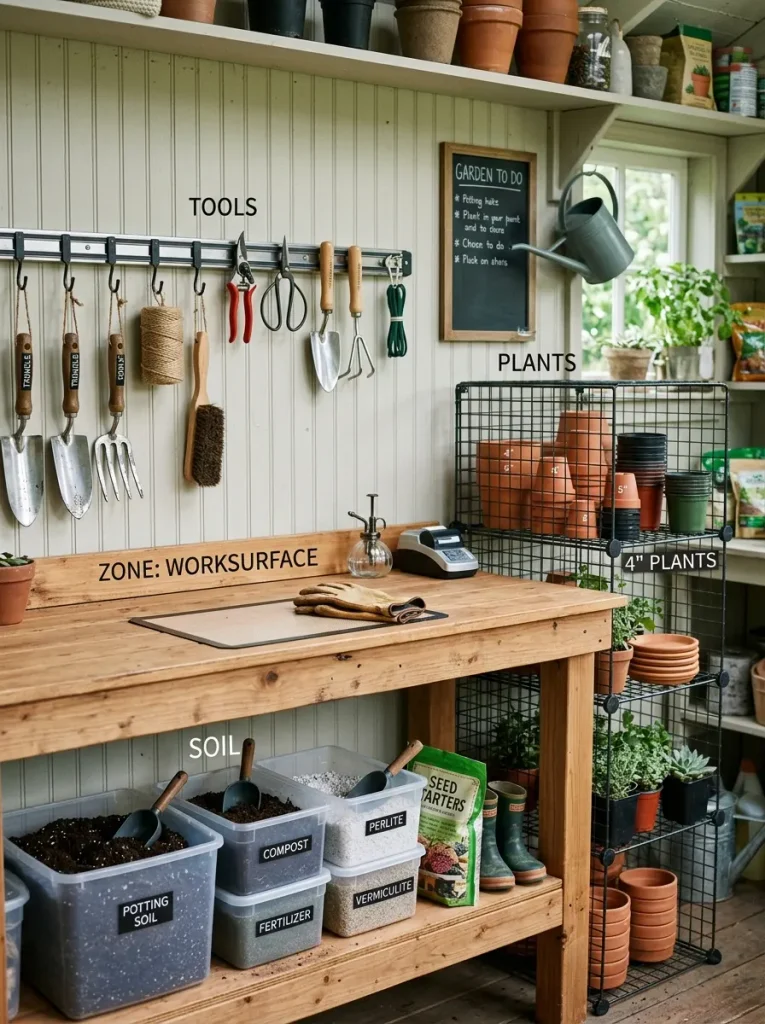
A gardening table works best when everything has a place. Think of the bench like a kitchen: you want the busy zone in the middle, heavy items down low, and light tools up high.
Use Vertical Space
- Pegboard or lattice: Hang trowels, shears, and gloves where you can see them.
- Magnetic tool bar: Steel hand tools stick right on, stay dry, and take up no drawer space.
- S hooks and rails: Hang watering cans, twine, and small baskets.
- Tall shelves on both sides: Keep decorative items up high and store fertilizer in covered cabinets below.
Use the Space Below
- Bins and baskets: Store potting mix, soil amendments, and extra pots.
- Bin under a slatted top: Catch falling soil and reuse it.
- Wire shelving: A wire rack beside your bench holds lots of pots. Because the shelves are open, water drains right through, so you do not need to raise pots with drainage holes.
- Clear boxes: Label containers for top dressing, seeds, and plant markers.
Protect Your Supplies From Pests
Mice and chipmunks love seed packets. If your table lives in a shed or garage, store seeds in sealed glass jars or hard plastic boxes. Keep birdseed and pet food somewhere else. Close the shed door when you are not there, and check pots for snakes or nests before you reach in. A tidy bench is less inviting to unwanted guests.
Keep Tools Clean
Wipe blades after each use, and put a bucket of sand and oil under the bench for stabbing shovels and trowels clean. Rust shows up fast in damp weather, so give your tools a minute of care at the end of each session.
Where to Place Your Gardening Table Outdoor
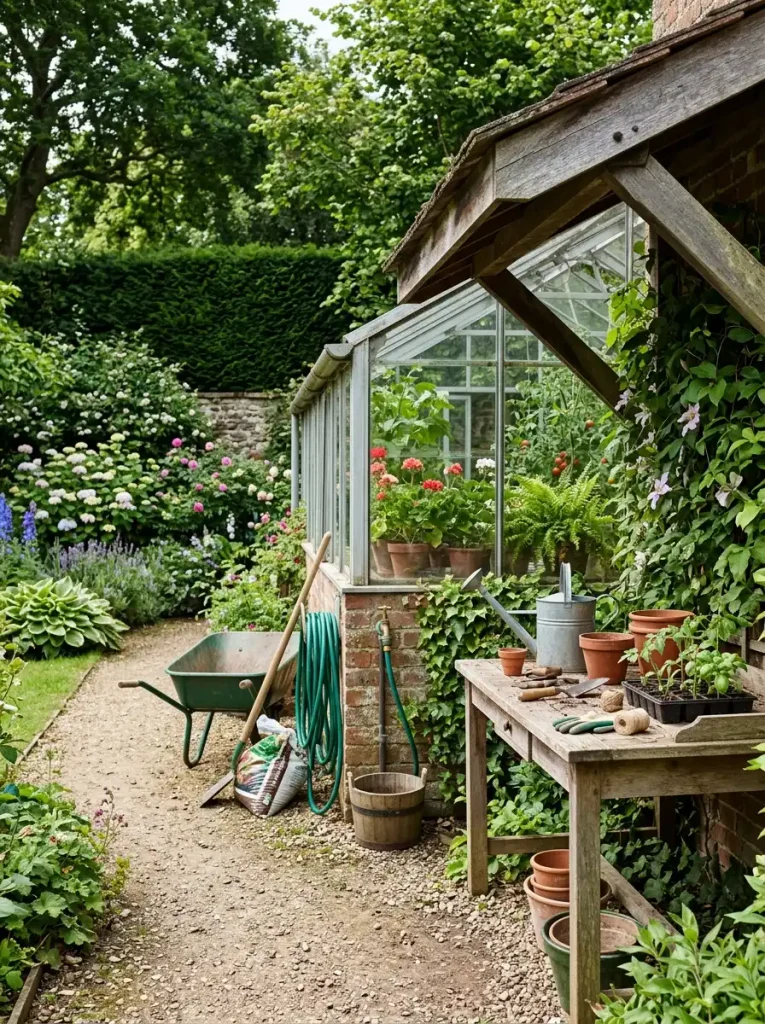
Location changes how much you will use the bench. Here is what to think about:
- Shade and sun: A shady bench keeps seedlings from drying out and keeps you cooler. A sunny spot helps with warmth in spring. If you cannot decide, a wheeled table can move.
- Water access: Put the bench near a spigot so you can fill pots and rinse tools fast.
- Shelter: A covered porch, carport, or overhang protects wood from rain and sun. A greenhouse side wall is a classic spot too.
- Wind: Light pots and seed trays blow around, so a wall or hedge behind the bench helps.
- Easy path: Make sure you can walk to the bench with a wheelbarrow or a bag of soil.
- Hide ugly spots: A gardening table can fill awkward corners. One gardener even had a custom birdhouse built to cover an ugly electrical panel above her bench. If something in your garden is an eyesore, plan your bench and decor to draw the eye away from it.
For small spaces, use the wall behind you. A narrow, tall bench with shelves on the wall stores more in a small footprint than a wide, low one.
Style Your Gardening Table Like a Real Garden Feature
![Styled rustic gardening table with flowers, vintage watering can, and potted plants around it]](https://stylishhomecorner.com/wp-content/uploads/2026/10/Styled-rustic-gardening-table-with-flowers-vintage-watering-can-and-potted-plants-around-it-765x1024.webp)
A gardening table does not have to be only a workspace. With a few simple touches, it becomes a pretty part of your garden.
- Surround it with plants. Place containers of boxwood, sage, or small shrubs around the legs to help it blend in. Plant thyme or sedum between nearby stepping stones.
- Add a small seat. A flagstone sitting area or a simple stool beside the table makes the spot feel like a real retreat.
- Mix old and new. Pair a rustic top with a clean white pot or a vintage watering can.
- Display garden treasures. Dried flowers, small statues, old tools, and baskets add personality.
- Use seasonal color. Swap in apple blossoms in spring, dahlias in late summer, and mini pumpkins in fall.
- Dual use. Many gardening tables double as serving stations on a deck or patio. Wipe it down, add a tray with drinks, and your potting bench becomes a party bar. You can also set out herbs, fresh blooms, and garden vegetables as simple centerpieces for a garden to table meal.
The idea is to mix rustic and polished pieces. A weathered top with a few clean, light colored accents looks balanced and inviting.
How to Care for Your Gardening Table
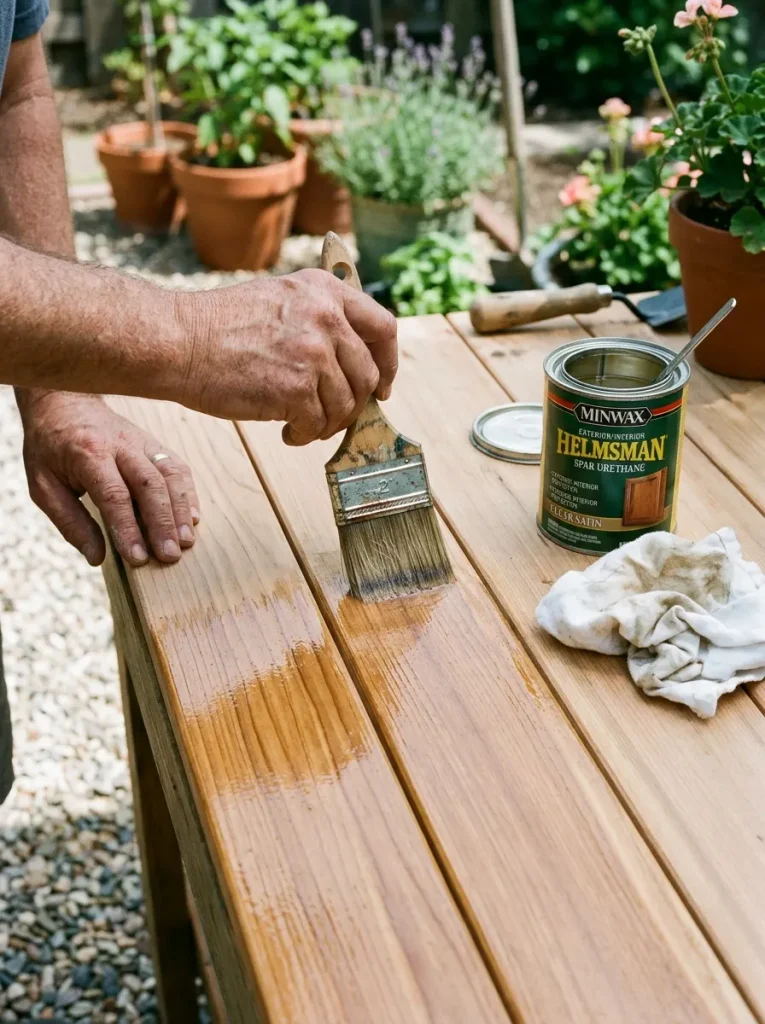
A little maintenance keeps your gardening table strong for years.
- Seal every year or two. Use an exterior sealer or oil on wood. Metal tops can be wiped with a damp cloth.
- Clean after each job. Sweep soil and rinse off sap or fertilizer. Wet soil left on wood can cause rot.
- Check the joints. Tighten screws in spring and fall, since wood moves with the weather.
- Fix small damage early. Sand rough spots and touch up paint before moisture gets in.
- Winter storage. If you can, move antiques and lighter benches under cover. For wood benches that stay out, use a waterproof cover.
- Watch for pests. Check under and behind the bench for nests.
Frequently Asked Questions
What is the best height for a gardening table?
Most people are happiest with a gardening table between 34 and 38 inches high. Stand with your elbows bent at a right angle, and choose a surface a few inches below your elbows. If you sit while working, a height of 28 to 30 inches works better.
What wood is best for an outdoor gardening table?
Cedar is the best natural choice because it resists moisture and insects. Pressure treated pine is a strong, lower cost option. Regular pine can work if you seal it well or keep the bench under a roof.
How much does it cost to build a DIY gardening table?
A simple DIY gardening table made from lumber, screws, and a finish usually costs far less than buying a bench of the same quality. Costs vary by wood type and local prices, and an upcycled table can cost almost nothing.
How do I protect a gardening table from rain?
Seal or paint the wood, keep the legs off wet ground, and place the table under a roof when you can. A waterproof cover helps during winter or heavy storms. Metal tops and cedar frames also hold up well.
Can I use my gardening table for something other than potting?
Yes. Many gardeners use their benches for seed starting, flower arranging, tool cleaning, or even serving food on the patio. A well built gardening table is flexible, which is one reason it earns its spot in so many yards.
Conclusion
A gardening table is one of the most useful additions you can make to your outdoor space. It saves your back, keeps your supplies organized, and gives your garden a hub that feels like home. Whether you enjoy planting flowers, growing vegetables, or trying new gardening projects, you can build one from scratch, upcycle a thrift store find, or buy a ready made bench. The best gardening table is the one you will actually use.
Pick a spot, measure your space, and choose a plan from this guide. Then grab your tools and start building this weekend. Your seedlings, your tools, and your back will thank you.